[Originally posted at OnEnsemble.org as "DIY koto bag"]
Update
This case was still in use when I left OnEnsemble. The stitching had held up very well but the light-colored fabric looked a bit dingy in spots.
Original post
My old koto slip cover was so old and worn, the fabric would rip with the slightest tug. So Hiroka and I sewed a new one with material we had around the house and it turned out surprisingly well.
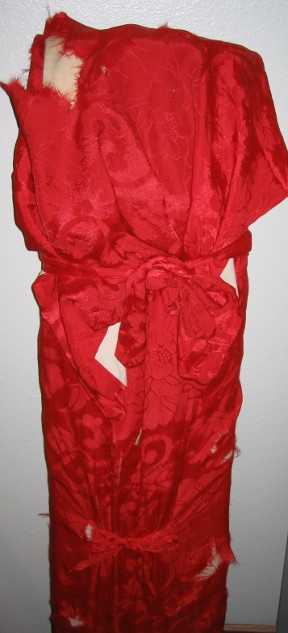
Old cover (click for larger ver)
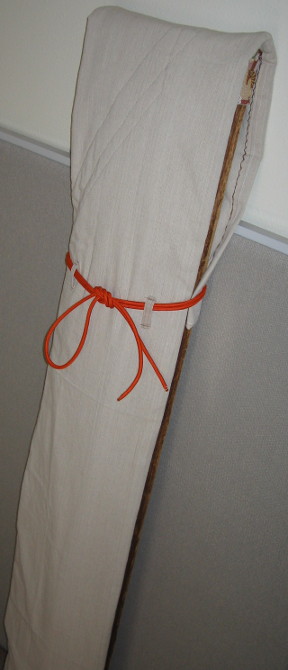
New cover (click for larger ver)
With the hopes that it will be helpful to someone else, here is a quick howto for sewing a custom soft cover for a Japanese 13-string koto.
Design
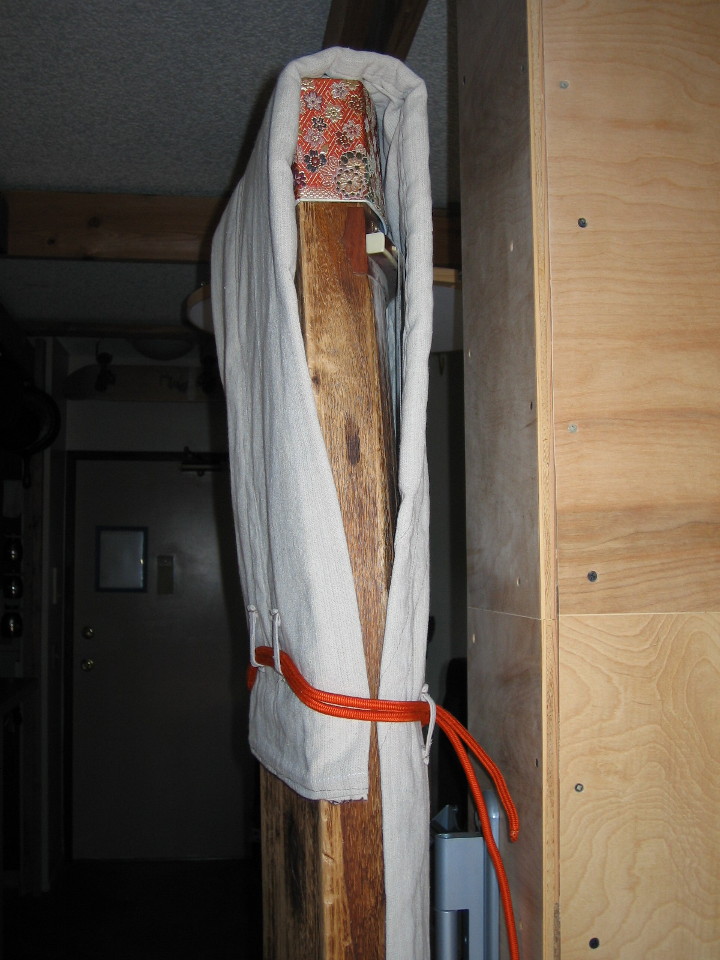
The slip cover is simply a long strip of layered fabric with extra padding in a few key spots and a simple bag on one end. The bag side is for the "ryubi", or tail end, of the koto. After the ryubi is tucked into the bag, the cover is simply folded over the head of the koto and tied in place. The slip cover is designed to provide a bit of protection to the protruding edges of the koto, in particular to the corners of the bridges on opposite ends of the koto over which the strings are stretched. Unlike most koto covers with multiple ties, this slip cover is easy to fasten and remove, even when the koto is sitting horizontally on its stand.
Materials
Fabric - We used an old paint drop-cloth (light-density canvas) that was relatively clean and going unused. Assuming your koto has the same dimensions (11" wide x 72" long), you'll need approximately 30 square feet of fabric. (There are three layers to the cover.) Our starting piece was about 36" x 110" and we folded lengthwise in thirds to form a strip 12" wide x 110" long.
Batting (padding) - Batting is a great place to reuse old materials. Since it won't be visible, it can be worn, stained, and falling apart; as long as it's got some cushion to it, it'll work wonders. I hate to buy batting. It's one of the few opportunities to reuse old blankets and moving blankets. You'll need two pieces, approximately 12" wide x 24" long. We used a few pieces from an old packing blanket that had seen better days.
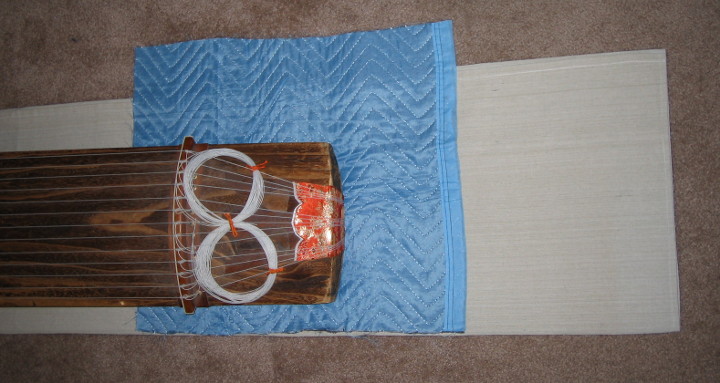
Fabric + batting (click for larger ver)
Cord/Rope - You'll need approximately 30" of cord or rope to tie the cover in position. I used a length of beautiful Japanese cord I had in storage. The ends were so nicely finished I didn't have the heart to cut it to length. I simply folded it in half and used it as-is.
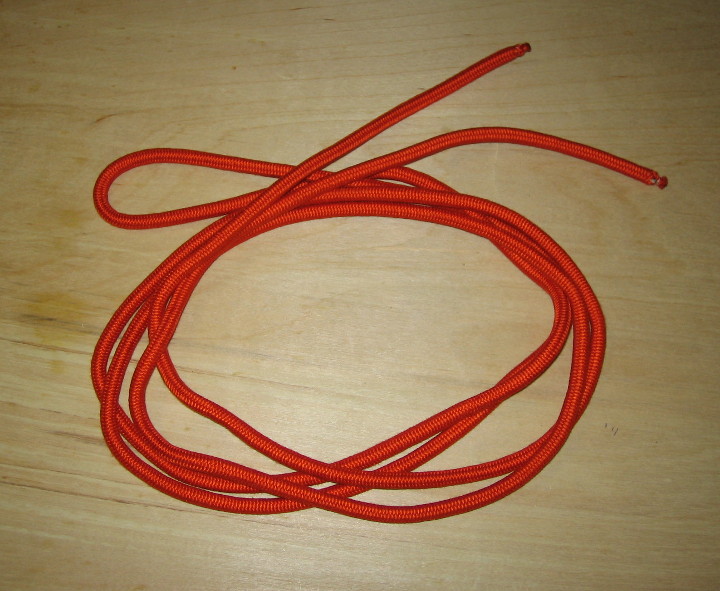
Cord (click for larger ver)
Tools
You'll need a sewing machine that can power through quite a few layers (at one point you'll likely sew 6 layers of canvas plus the batting. We were able to do it with the standard foot on our sewing machine and didn't break any needles, but it was definitely pushing the max thickness. Hiro also hand-sewed a number of sections with heavy thread, using a large needle with a large eyelet.
Construction
Step one is to place the batting in the proper position inside the folded strip of fabric. The batting will provide padding for the ends of the koto, as well as the bridges at each end. Lay the long strip out flat on the ground and use the koto to determine the ideal location for the batting. See the Fabric + Batting photo above to see our positioning for the ryubi (tail end of the koto). The opposite end is identical. We trimmed the extra width off the batting in that photo.
Folded fabric plus batting (click for larger ver)
Once the batting is in the proper location, sew it in place. I tried to use a few artfully-sewn lines to reference the image of the strings of the koto, but the result isn't very dramatic.
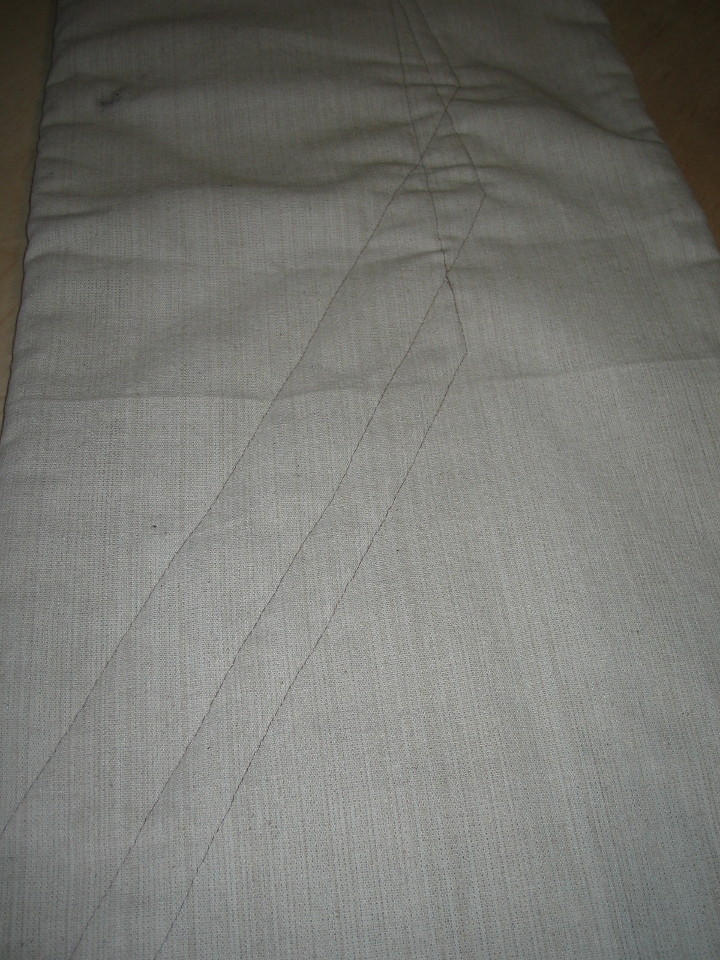
Stitches to hold batting in place (click for larger ver)
Once the batting and three layers are stitched together, sew the edges of the long strip. After machine-seweing along the length, Hiro hand-sewed the remaining flaps down, trying two different stitching patterns (both of which have held up well).
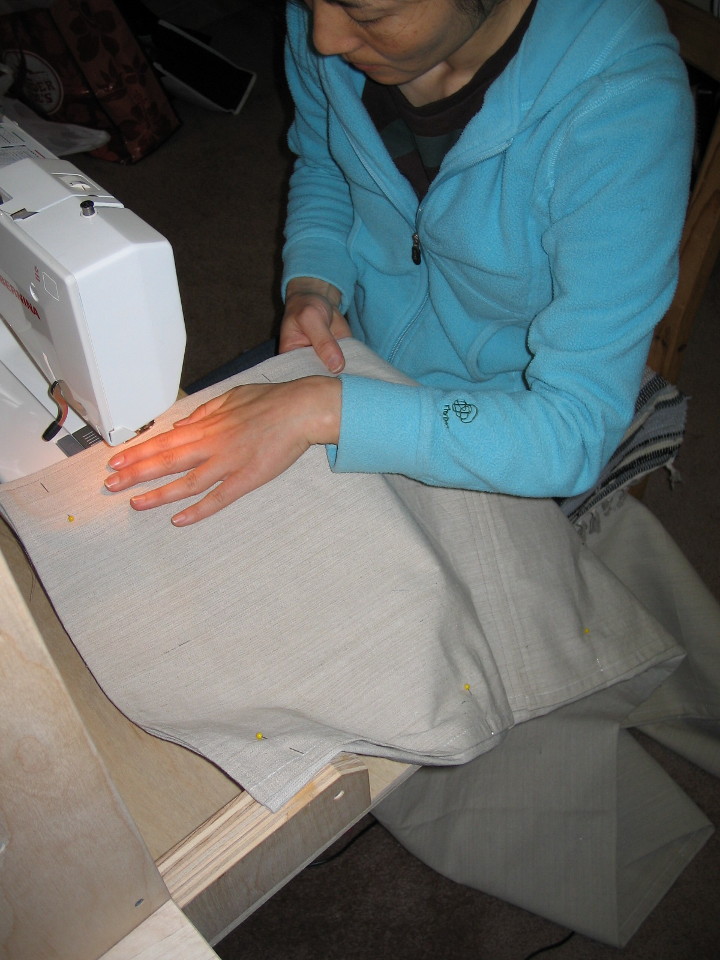
Sewing edges of long strip (click for larger ver)
Strip complete (click for larger ver)
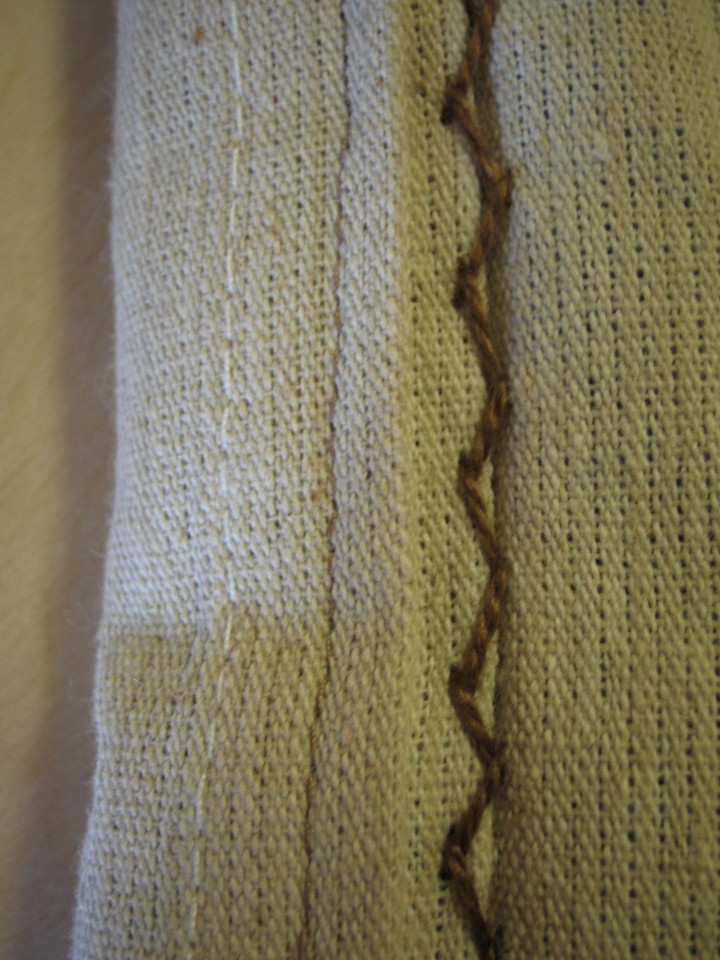
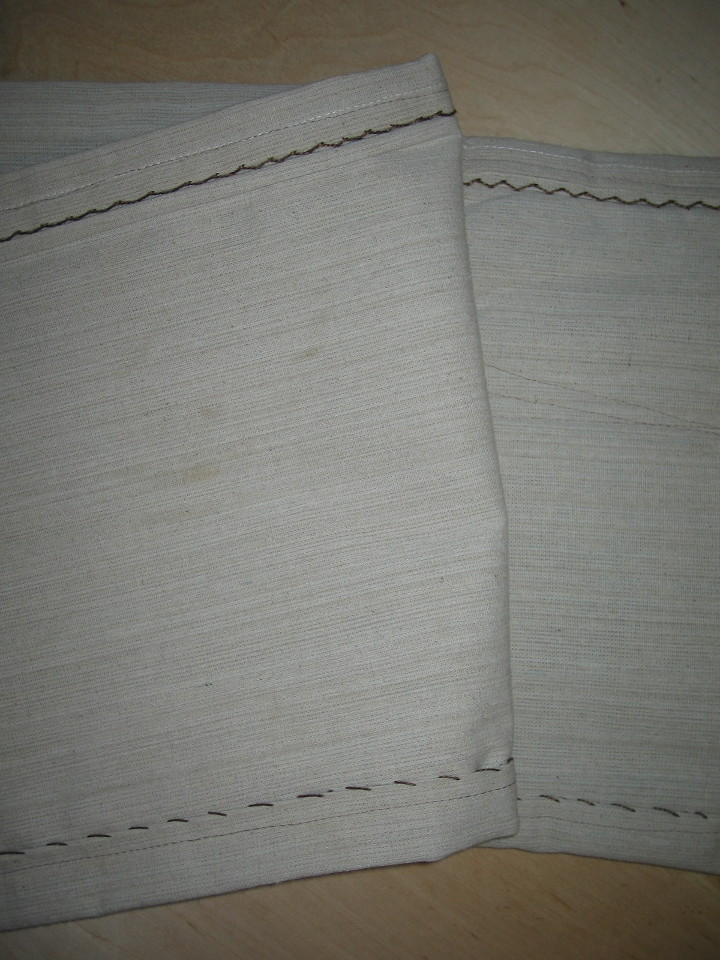
Hand-sewn stitching pattern 1 (click for larger ver)
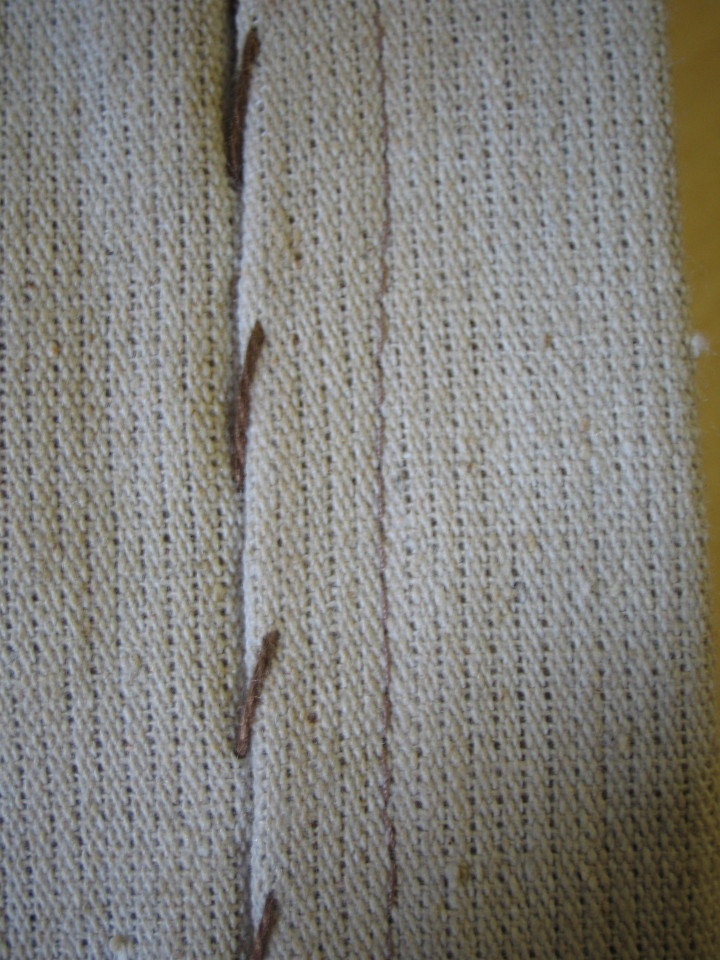
Hand-sewn stitching pattern 2 (click for larger ver)
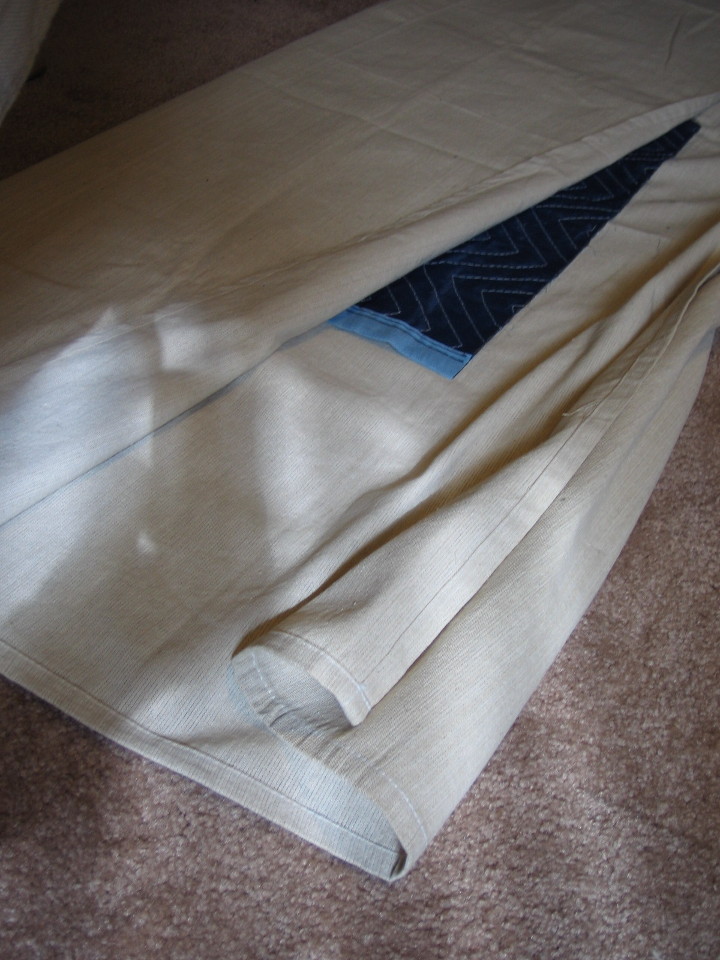
The next step is to fold the tail end of the strip and sew the edges together to form a bag for the ryubi (tail end) of the koto. We planned to simply sew the edges and then turn it inside out, but the fabric (twelve layers of canvas plus four layers of batting) was too thick for our standard sewing machine foot. So Hiro simply sewed this part by hand. She added reinforcement in the stress-prone ends.
Folded end for bag (click for larger ver)
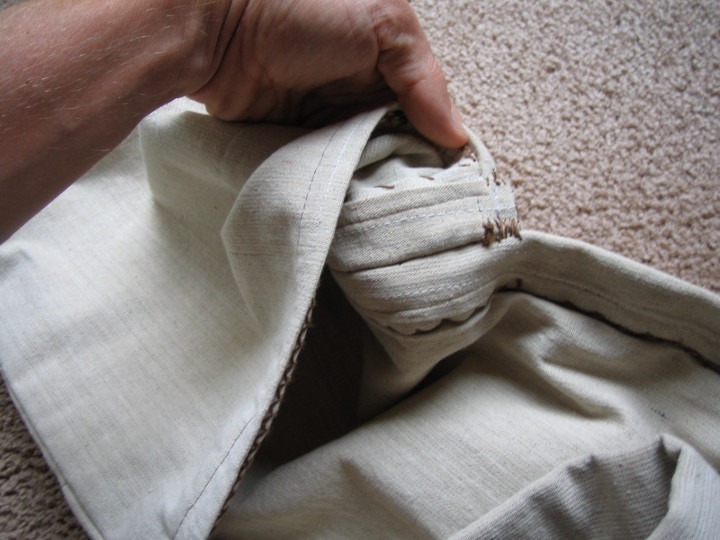
Ryubi bag inside (click for larger ver)
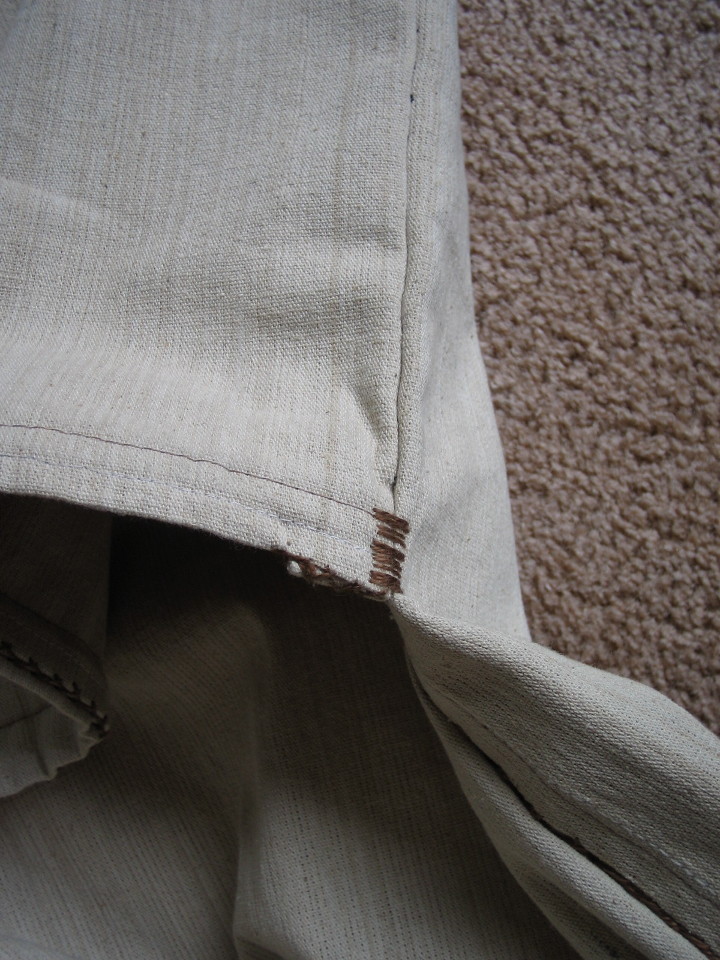
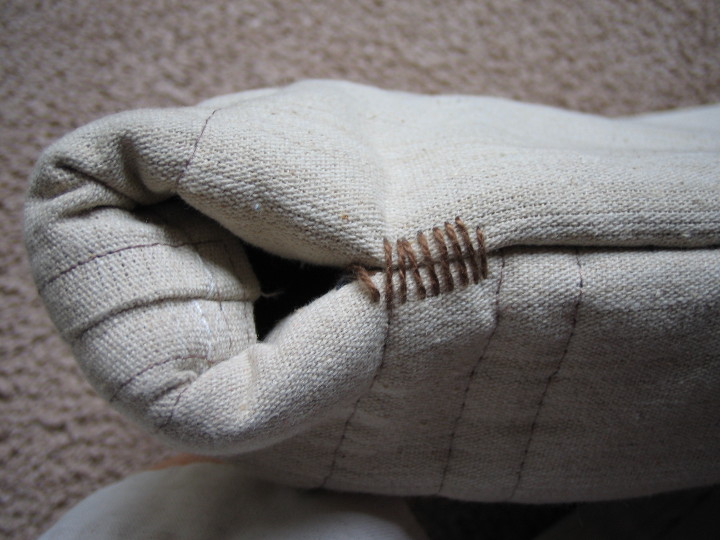
Reinforcement stitches (click for larger ver)
The final step is to add loops for the cord to pass through. With the cover on the koto, the loops on the loose flap side should be higher than the opposing set of loops, so that tying the cord pulls the end of the cover taught. For the loops on our bag, Hiro reused four belt loops from a pair of worn-out shorts I have.
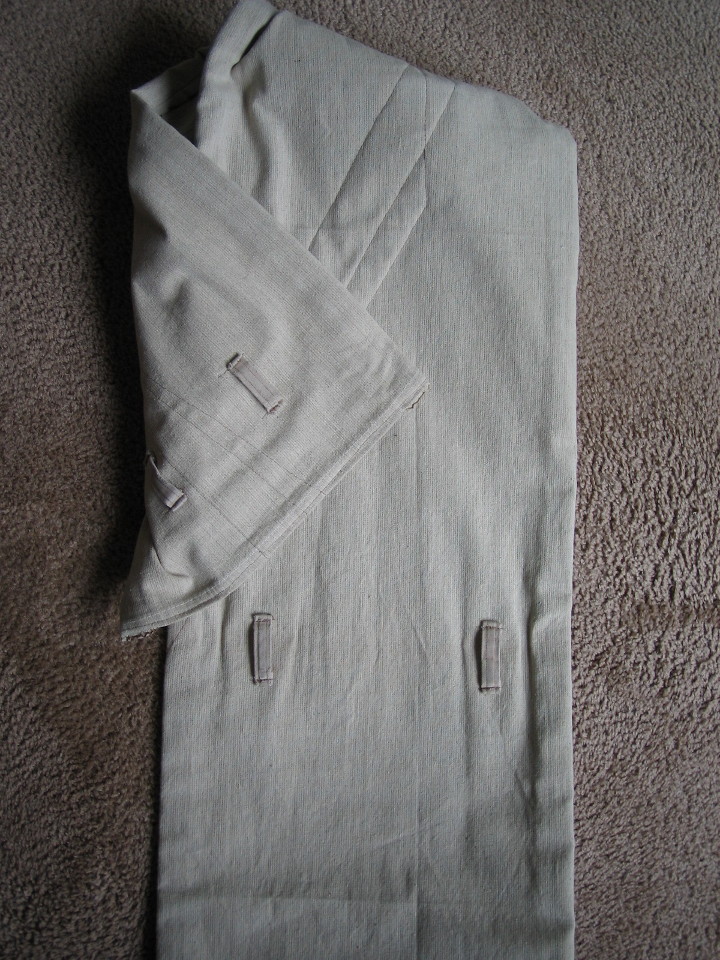
Cord loops (click for larger ver)
Cord loop positions (click for larger ver)
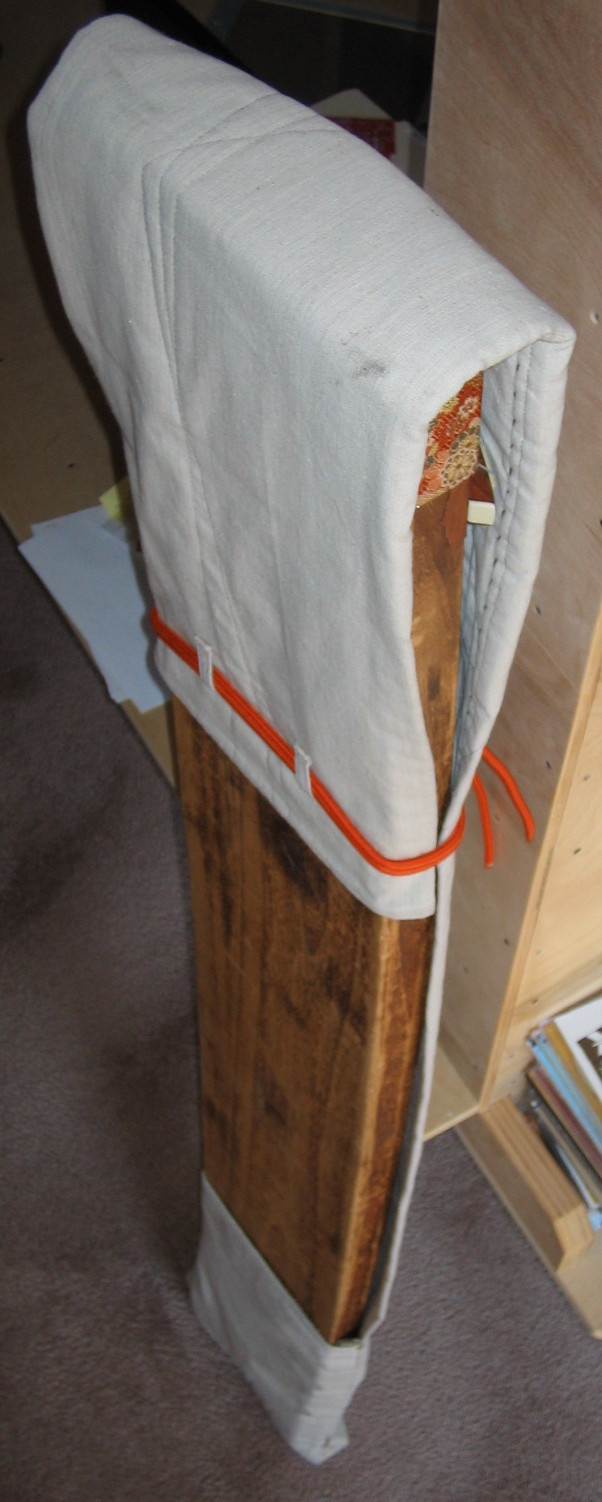
Finished cover back view (click for larger ver)
That's it! Please email me or post a comment if you have any questions. Happy sewing!