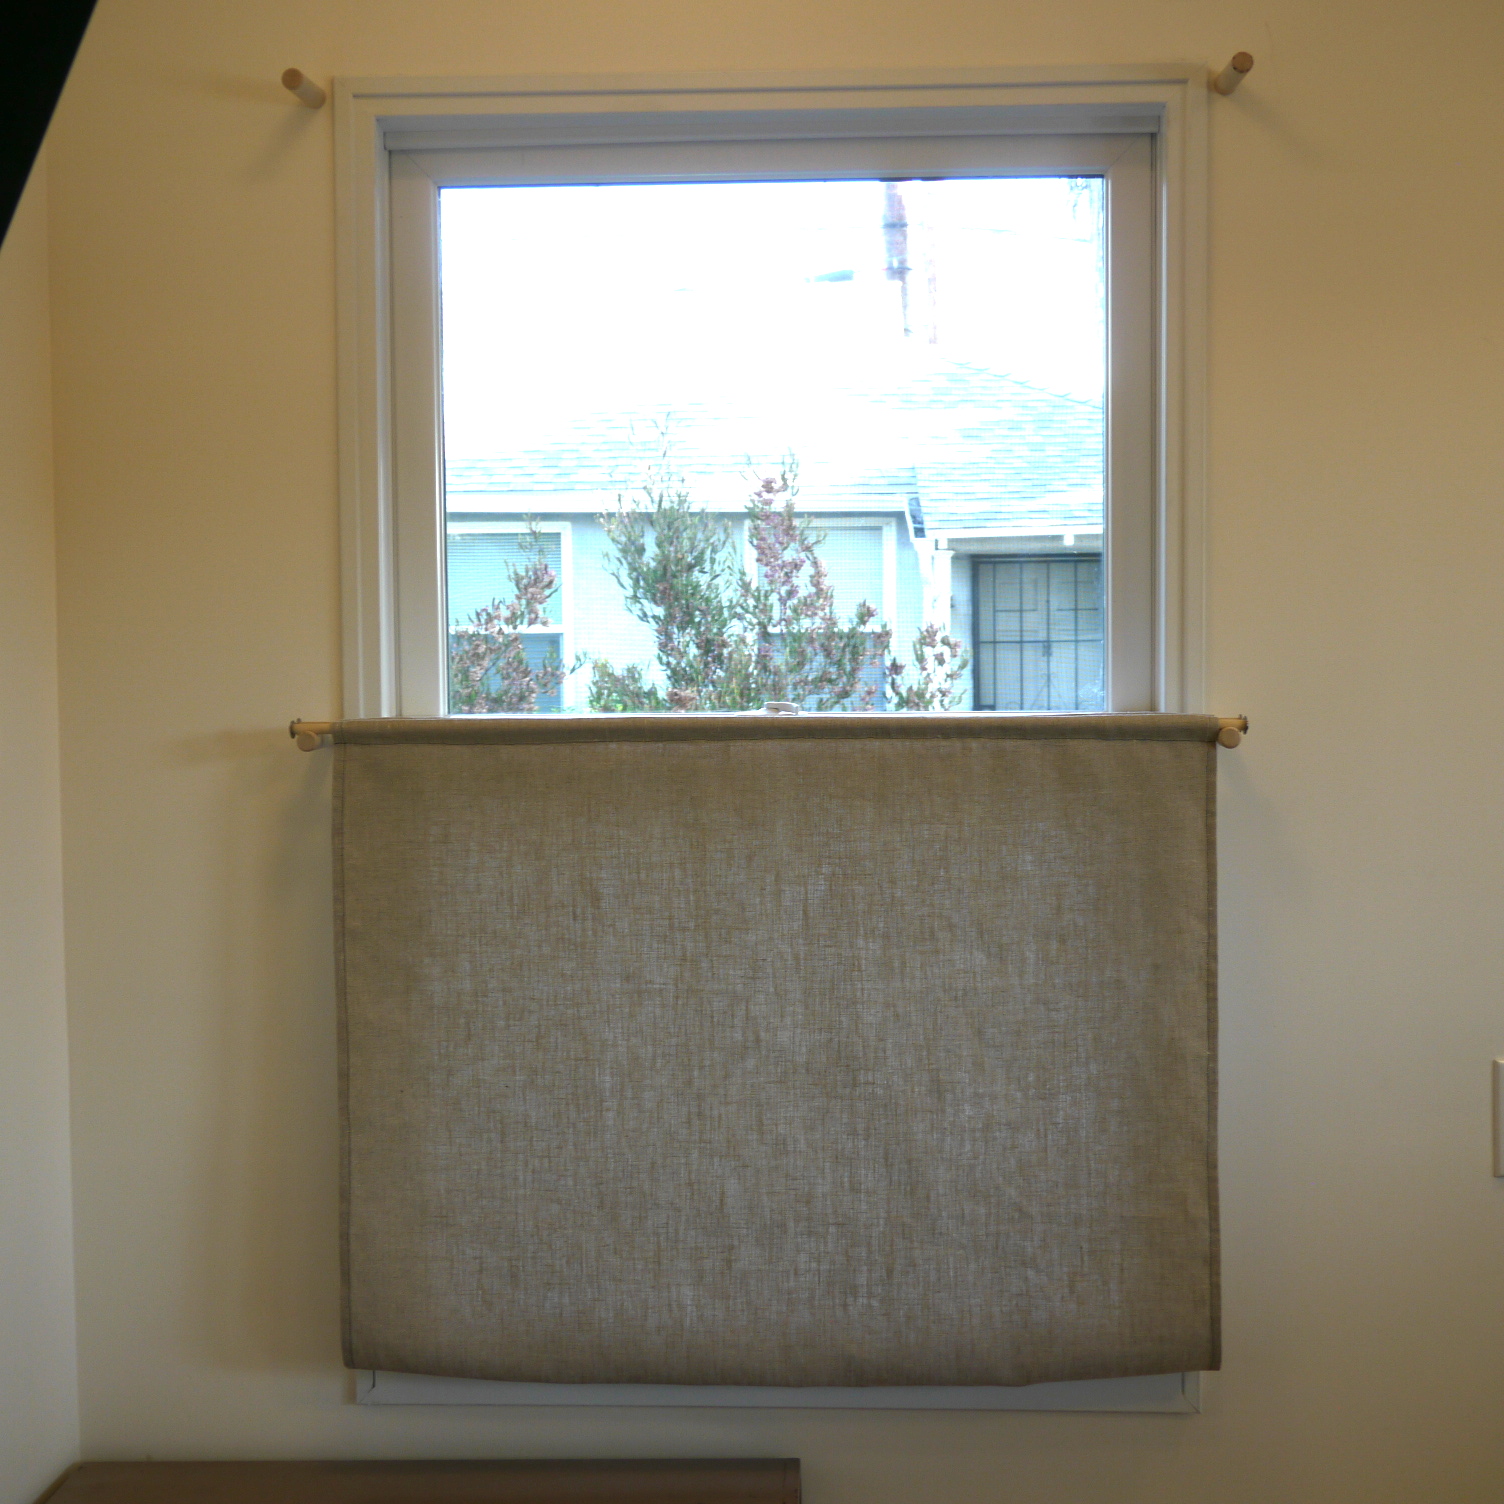
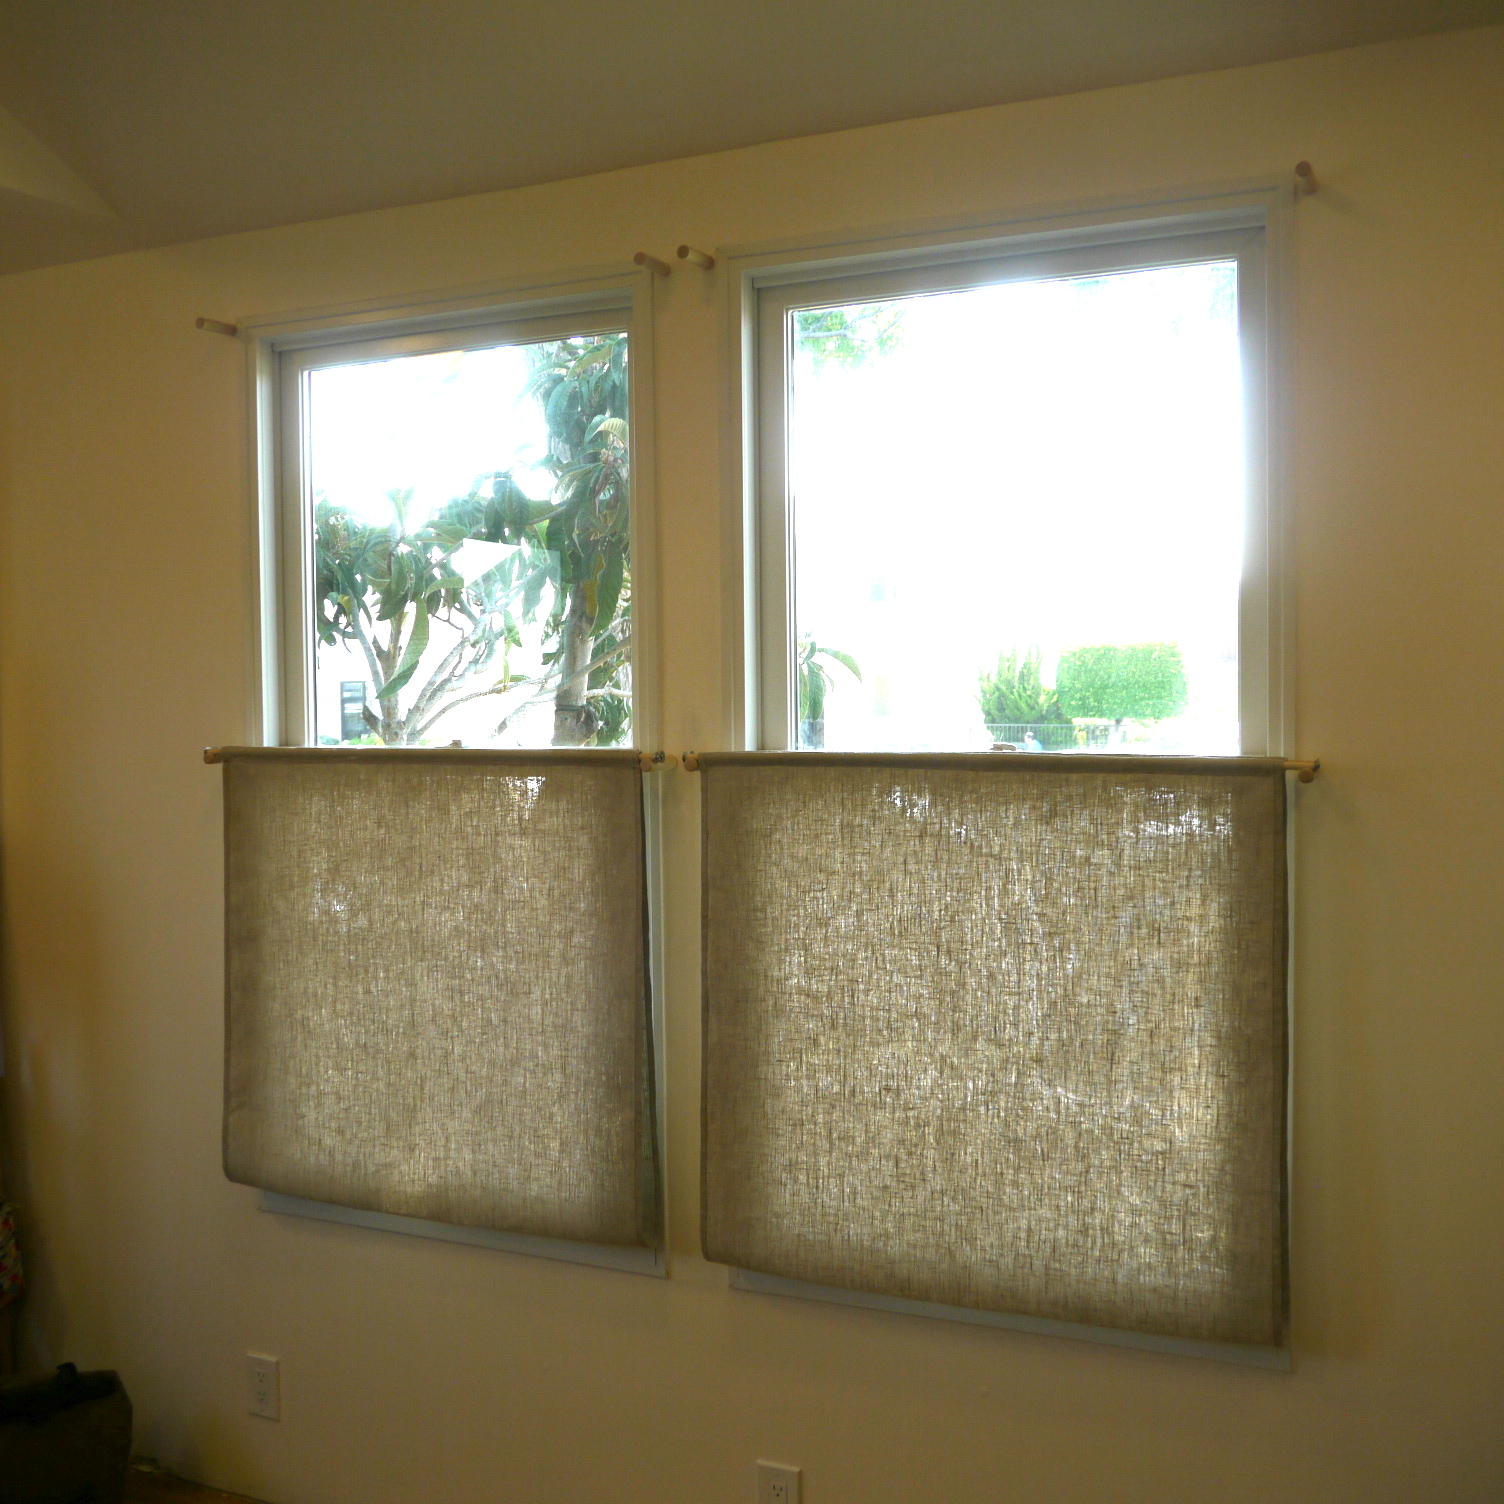
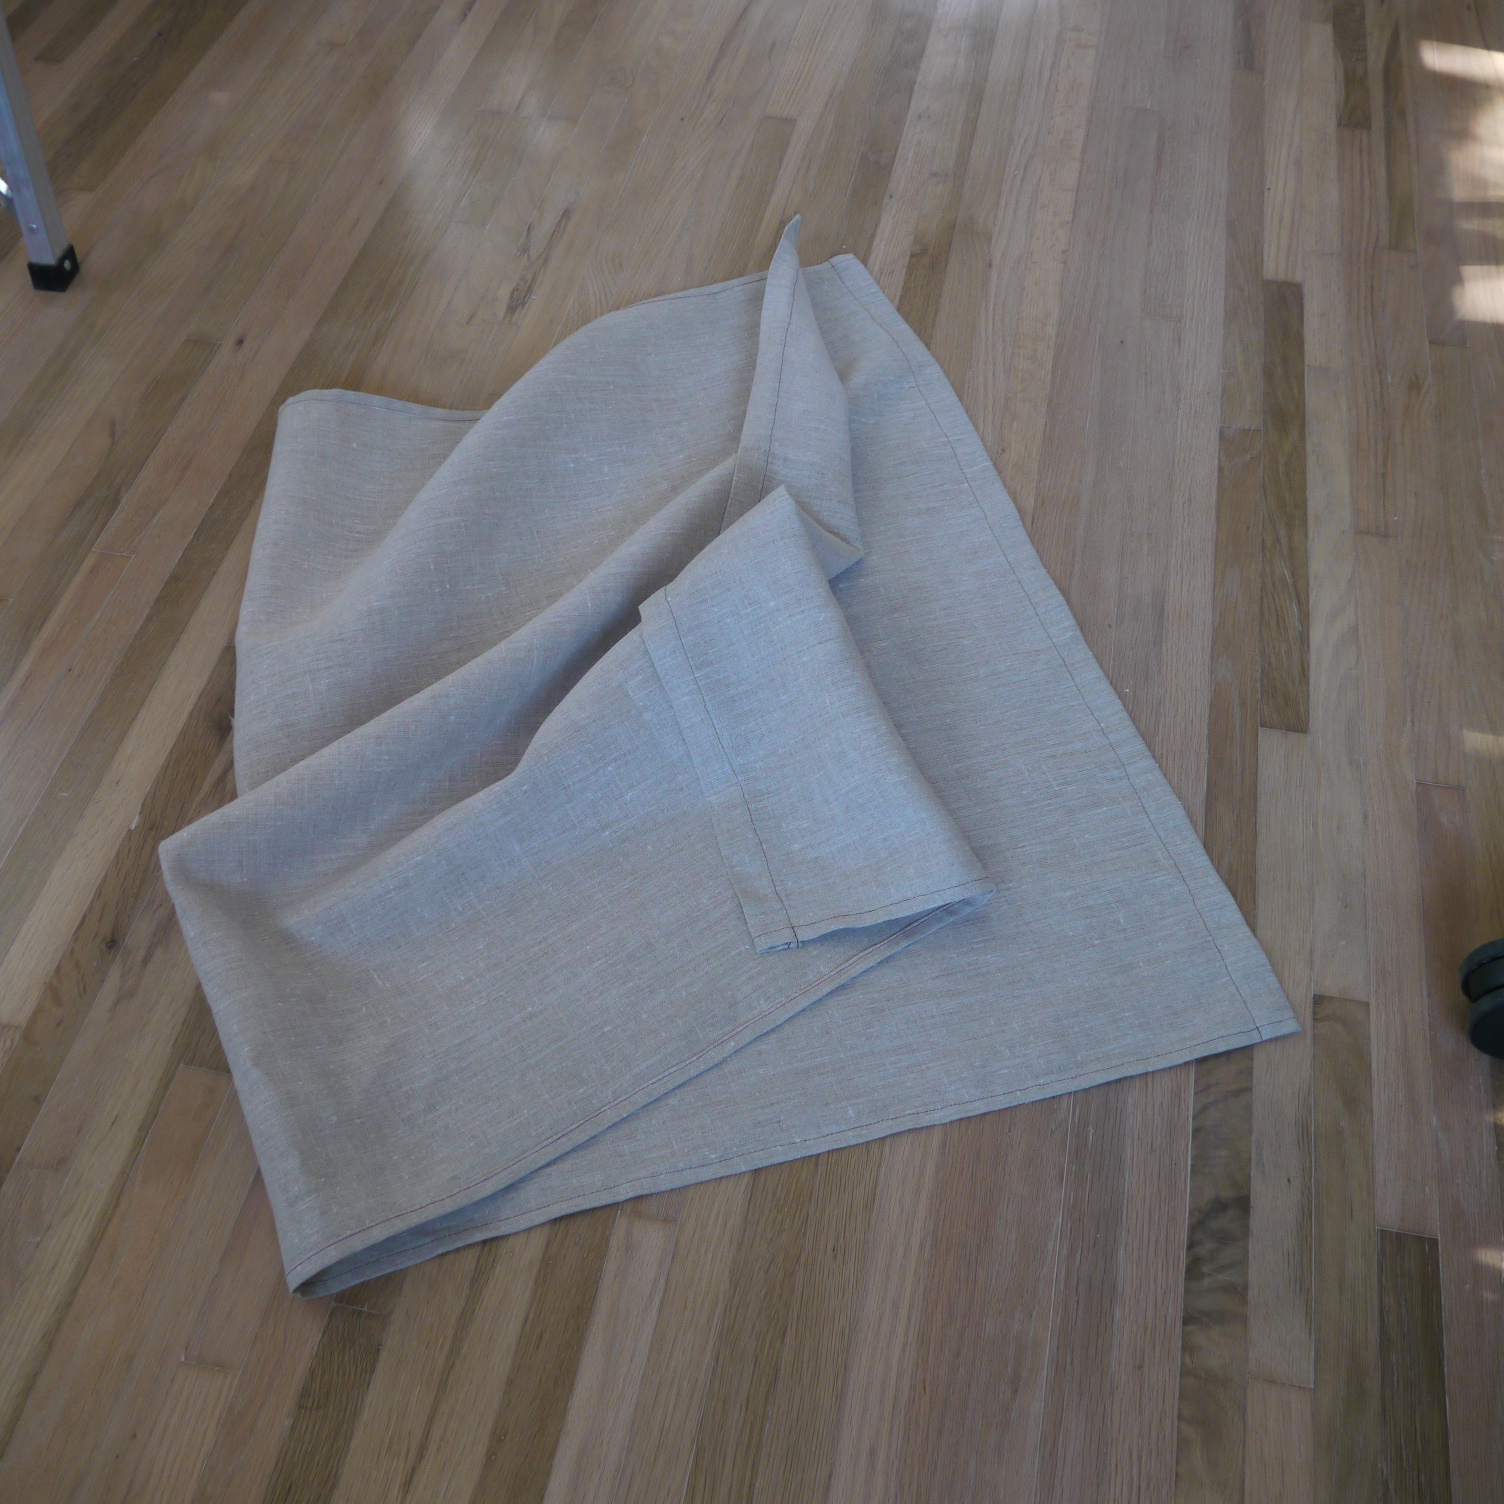
Double-hung windows allow both the top and bottom panes to open. We usually open the top pane during the day and wanted a curtain solution that would allow for privacy by obscuring the bottom half. We came up with a design that allows for full-window coverage, top half, bottom half, or none at all.
Completed bedroom curtains

Parts and materials
- curtain (fabric)
linen - curtain rods
7/16" dowels
washers
finish (countersunk) washers
reclaimed wood screws - curtain supports
reclaimed maple bachi
3 1/2" wood screw to machine bolt
Construction
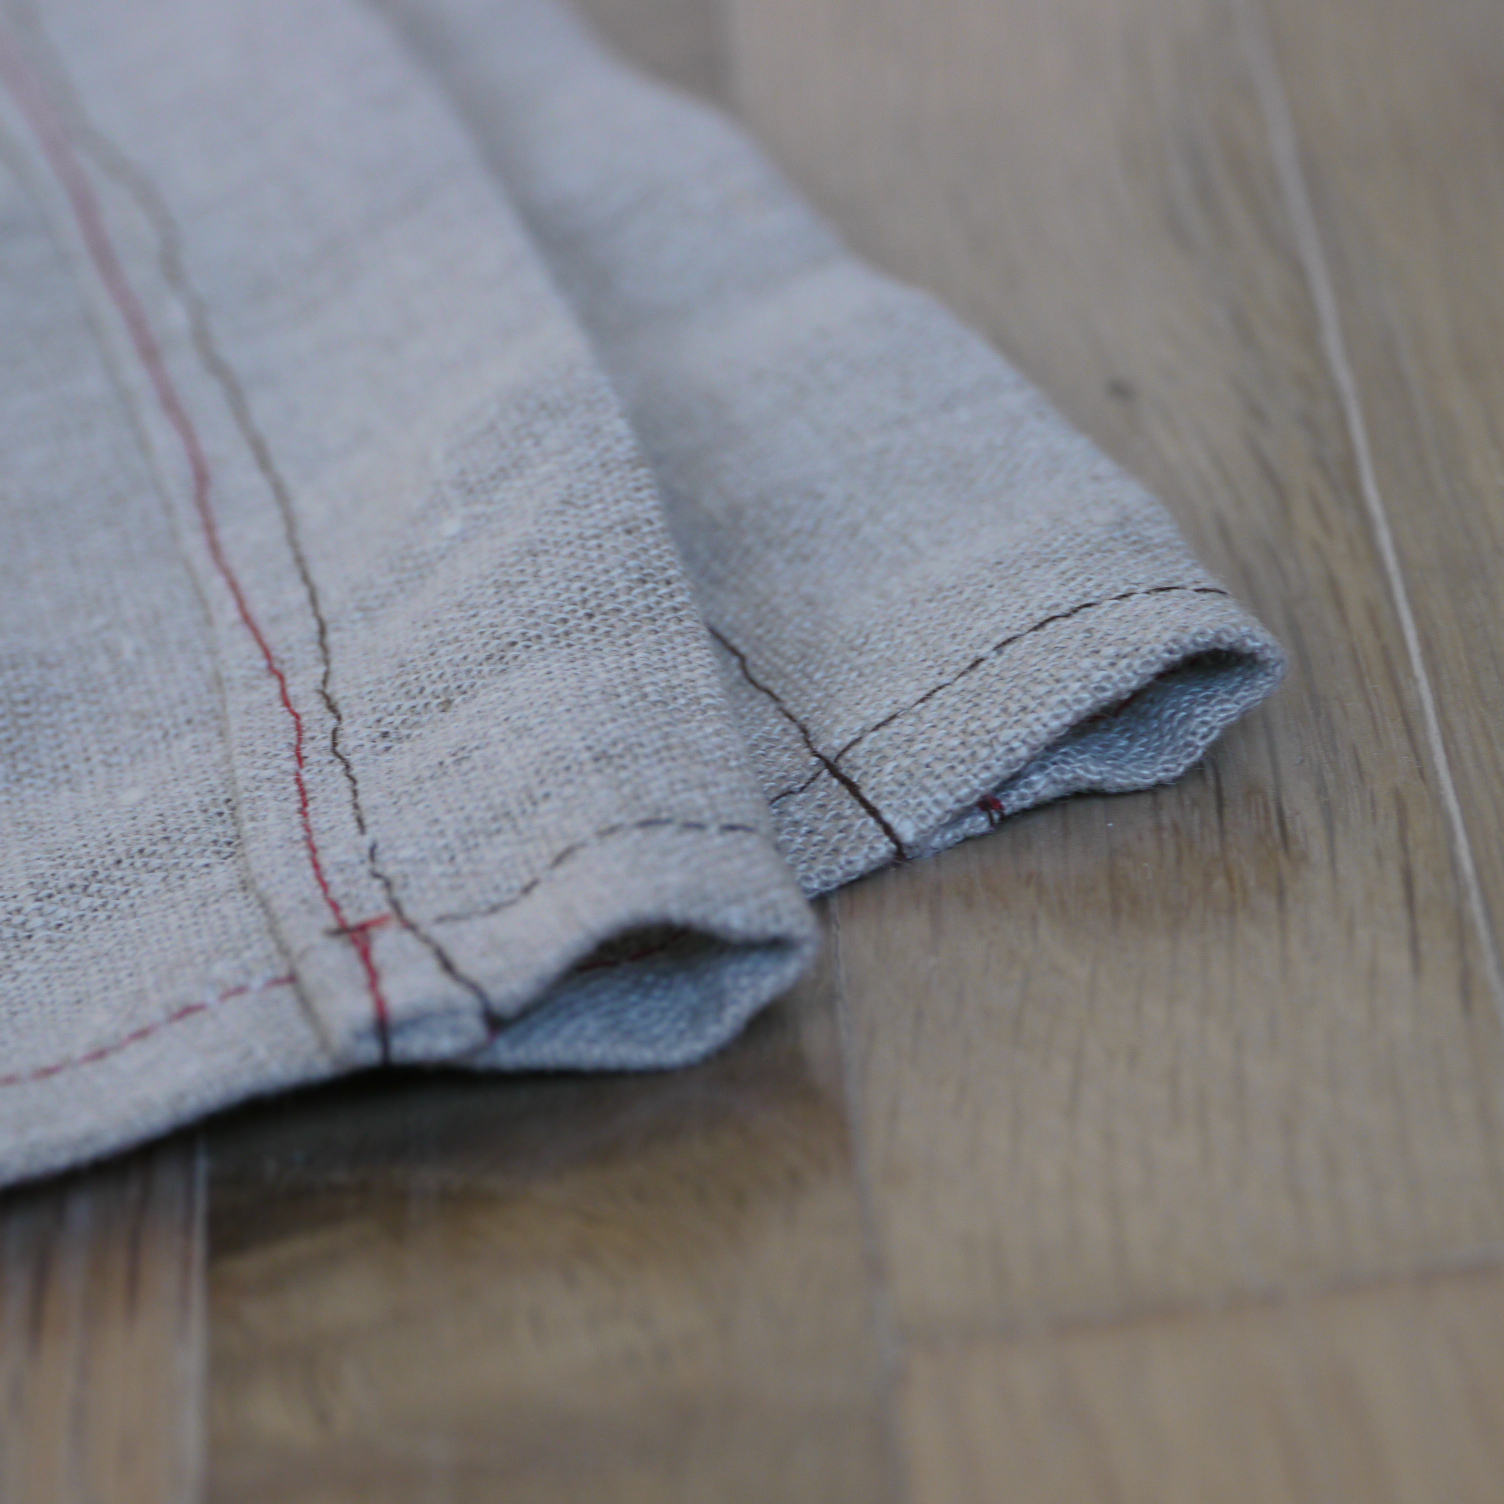
The fabric for each curtain is cut to the size of the window, plus about 2" horizontally for folding and finishing the edge, and approximately 4" vertically to allow for the dowel loop. In order for the curtain to hang vertically, it is important that the finished piece be a proper rectangle. That having been said... it's fabric, so there's room for a bit of error.
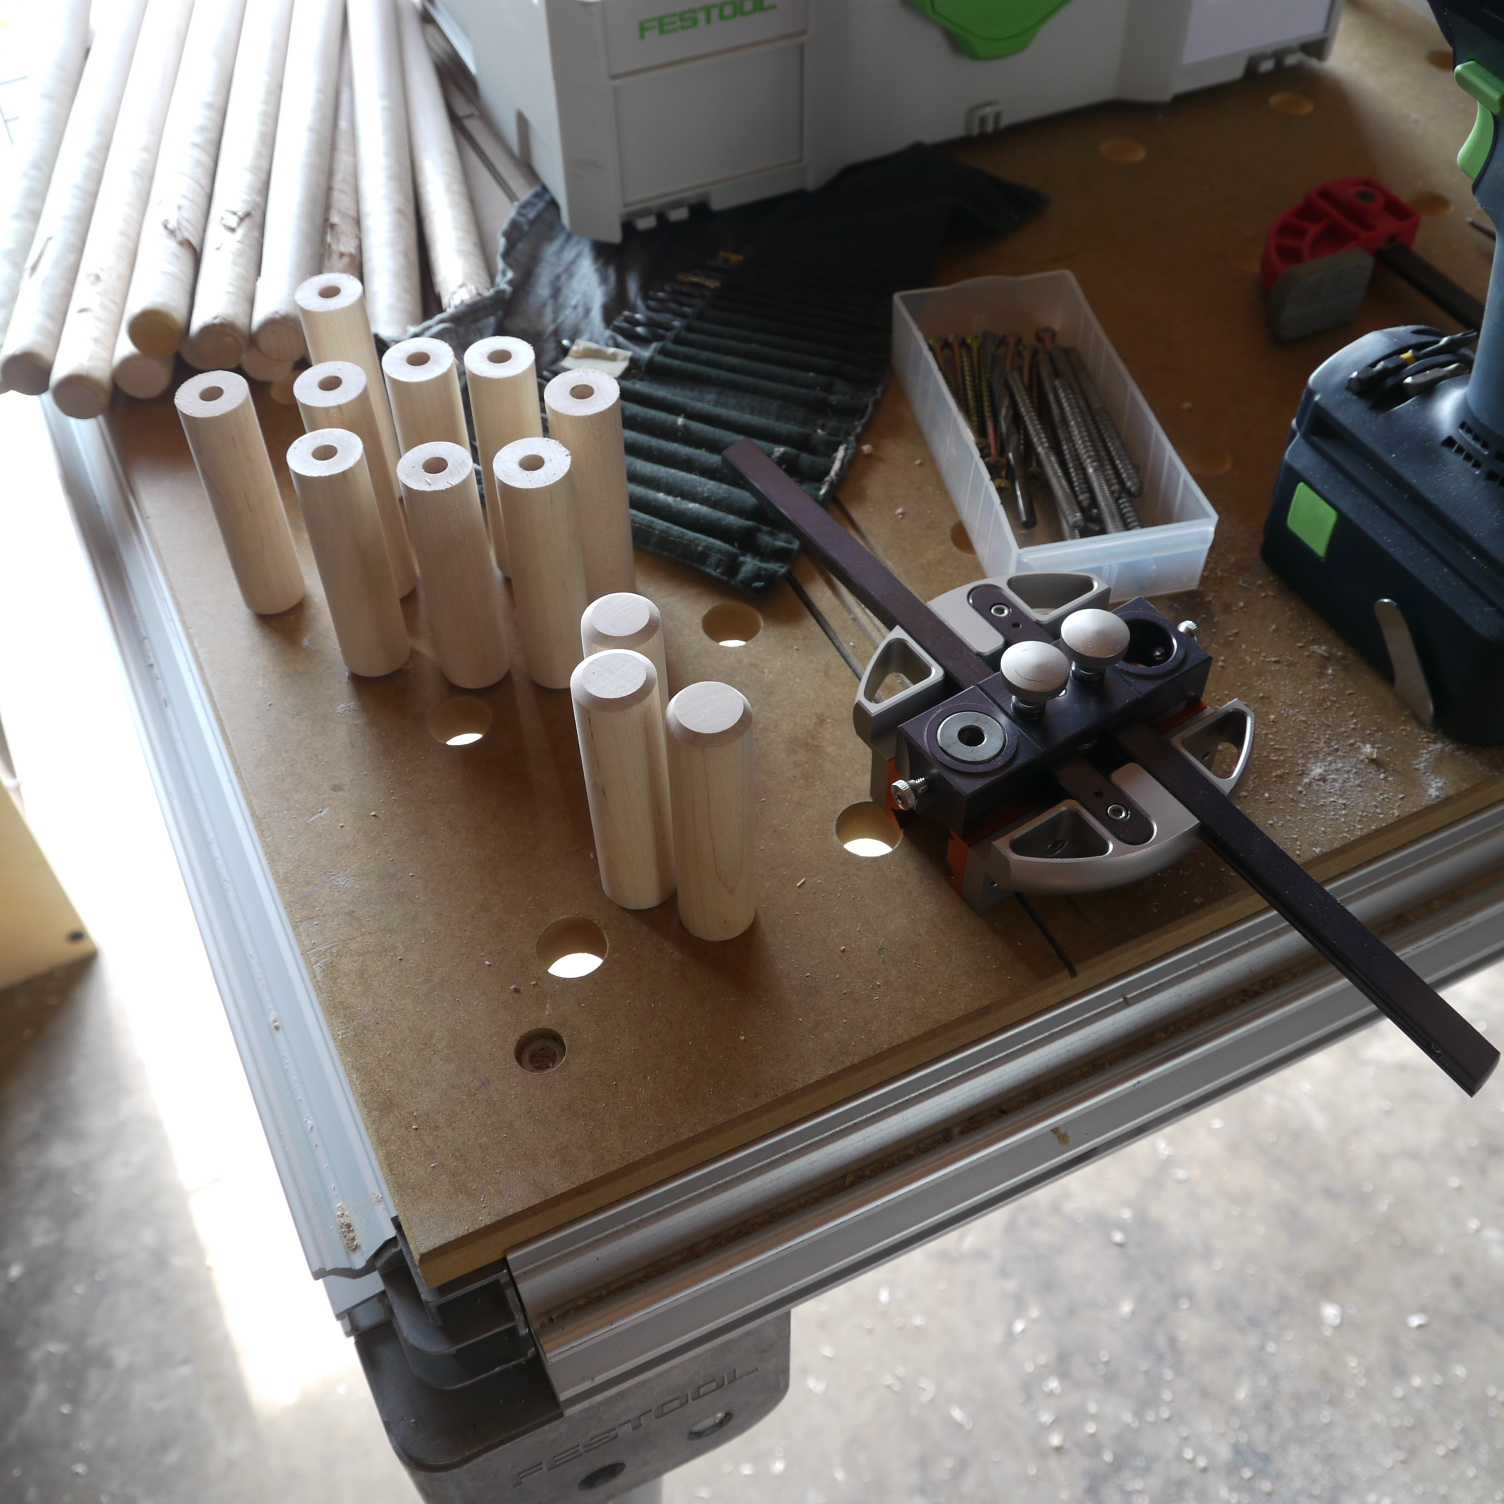
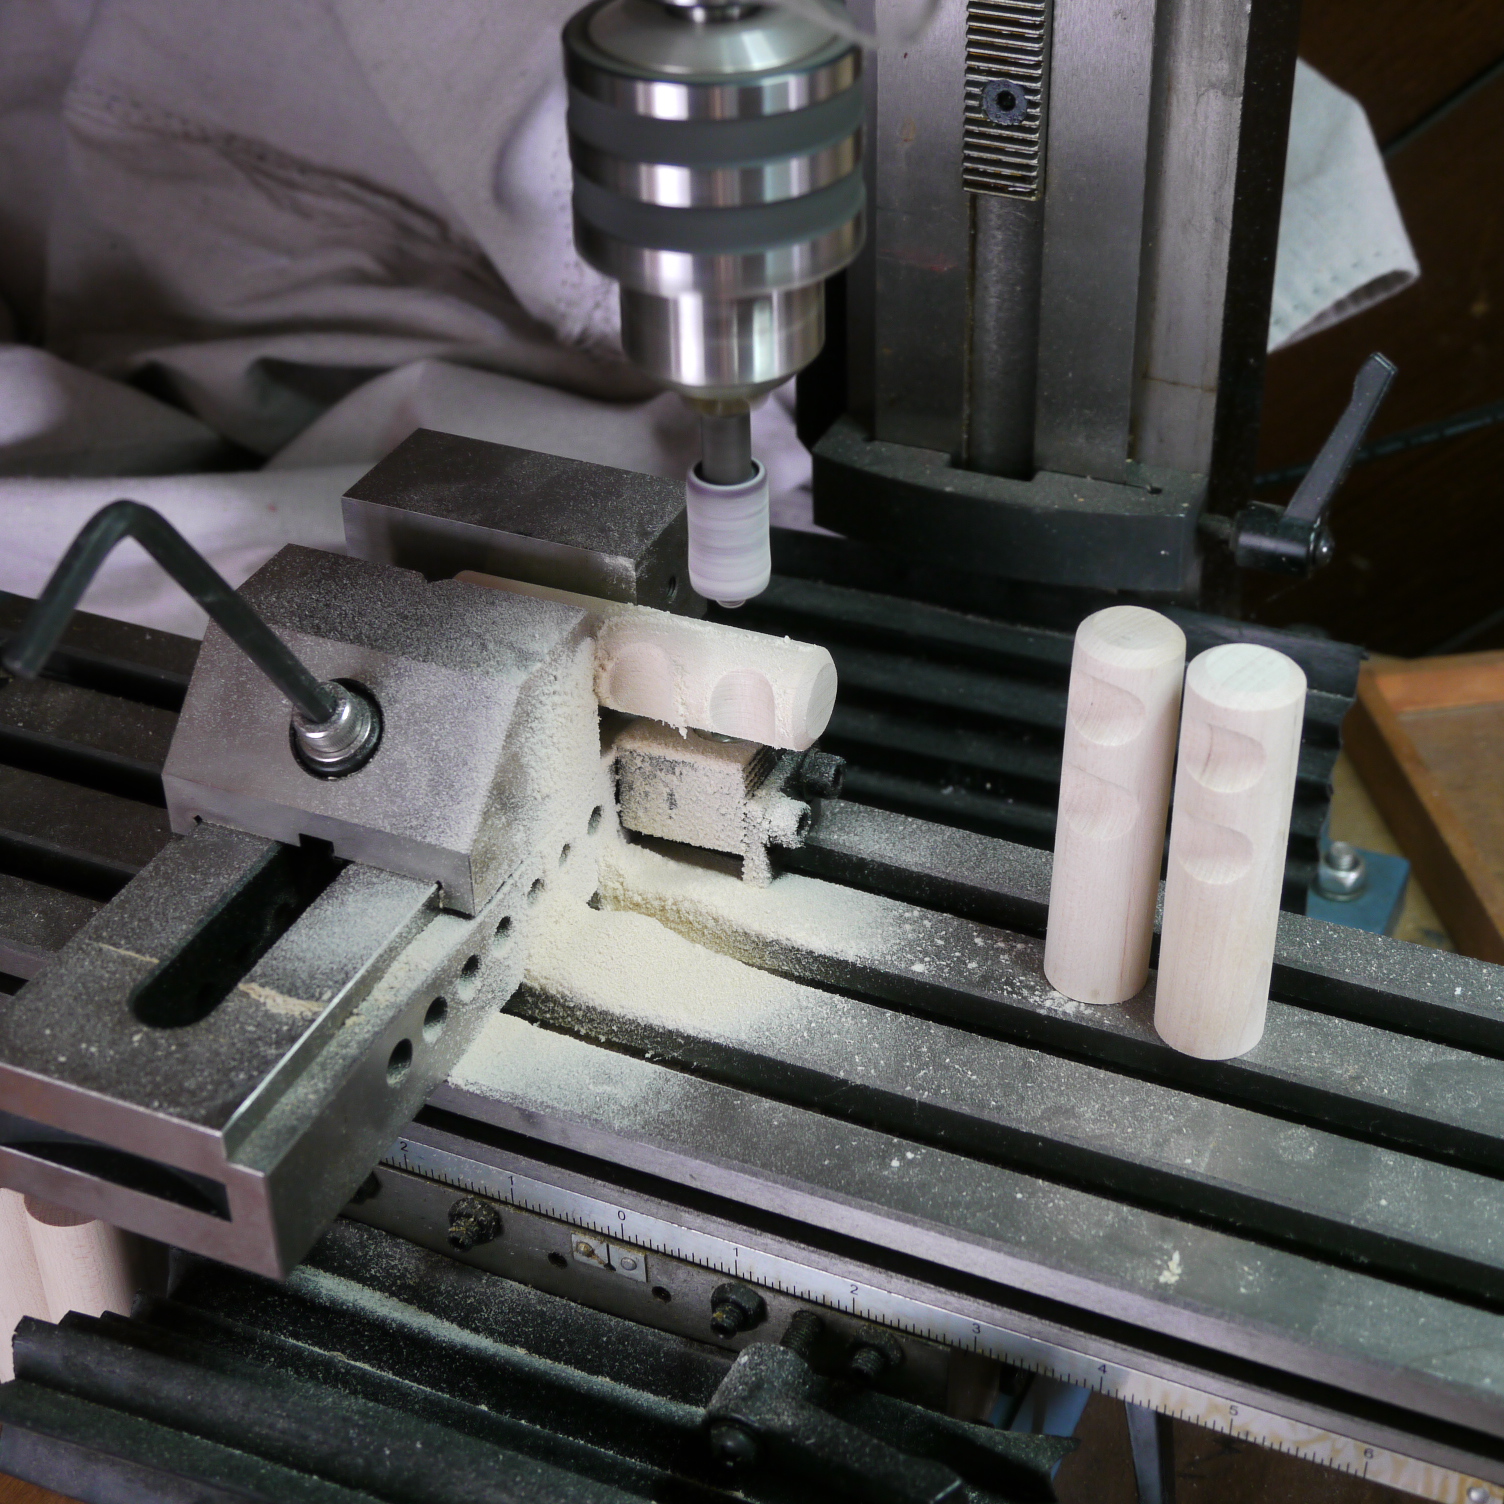
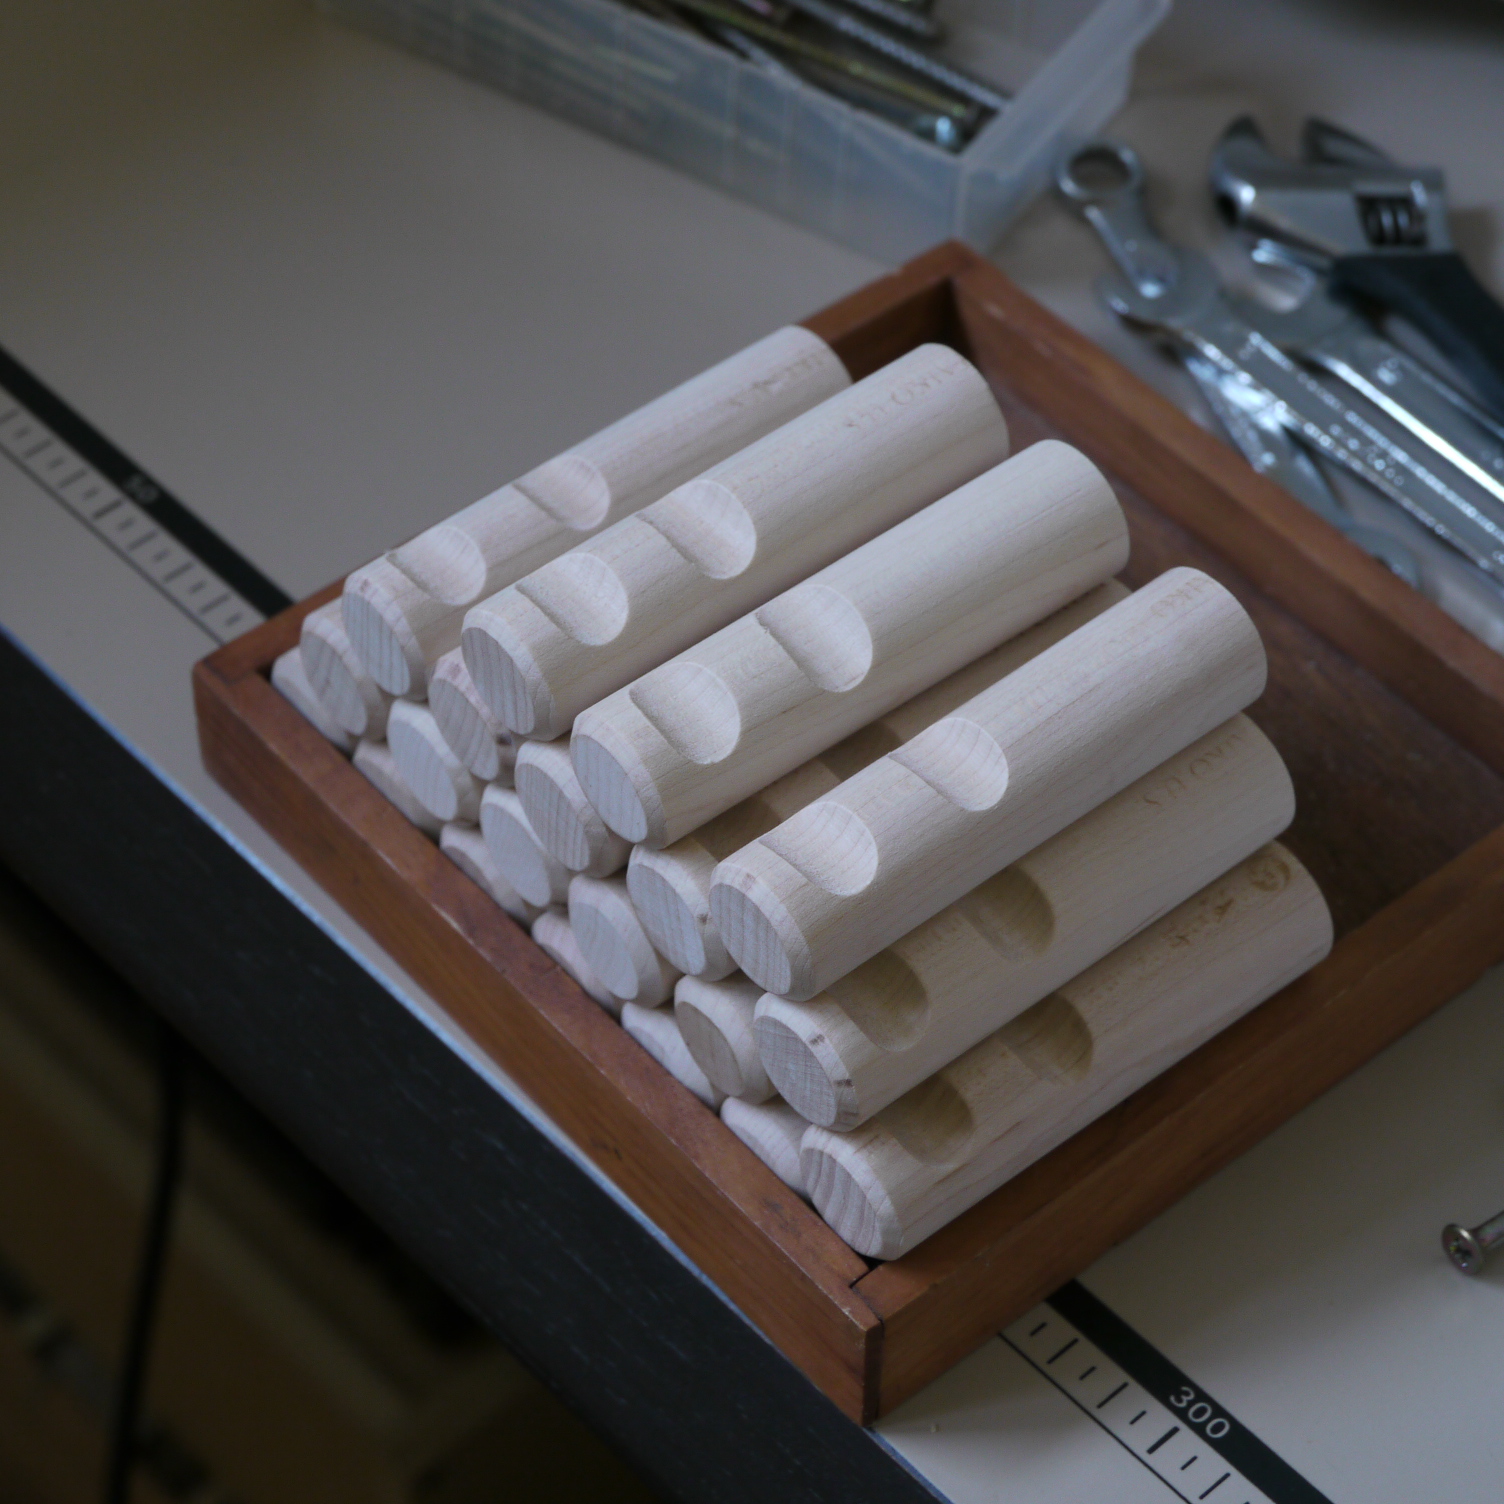
Four curtain supports are required for each window. I made these by sanding and cutting off the usable ends of broken/worn bachi.
A 7/16" hole bored in the bottom seemed about right to allow for play when installing with hot glue on 1/4" bolts.

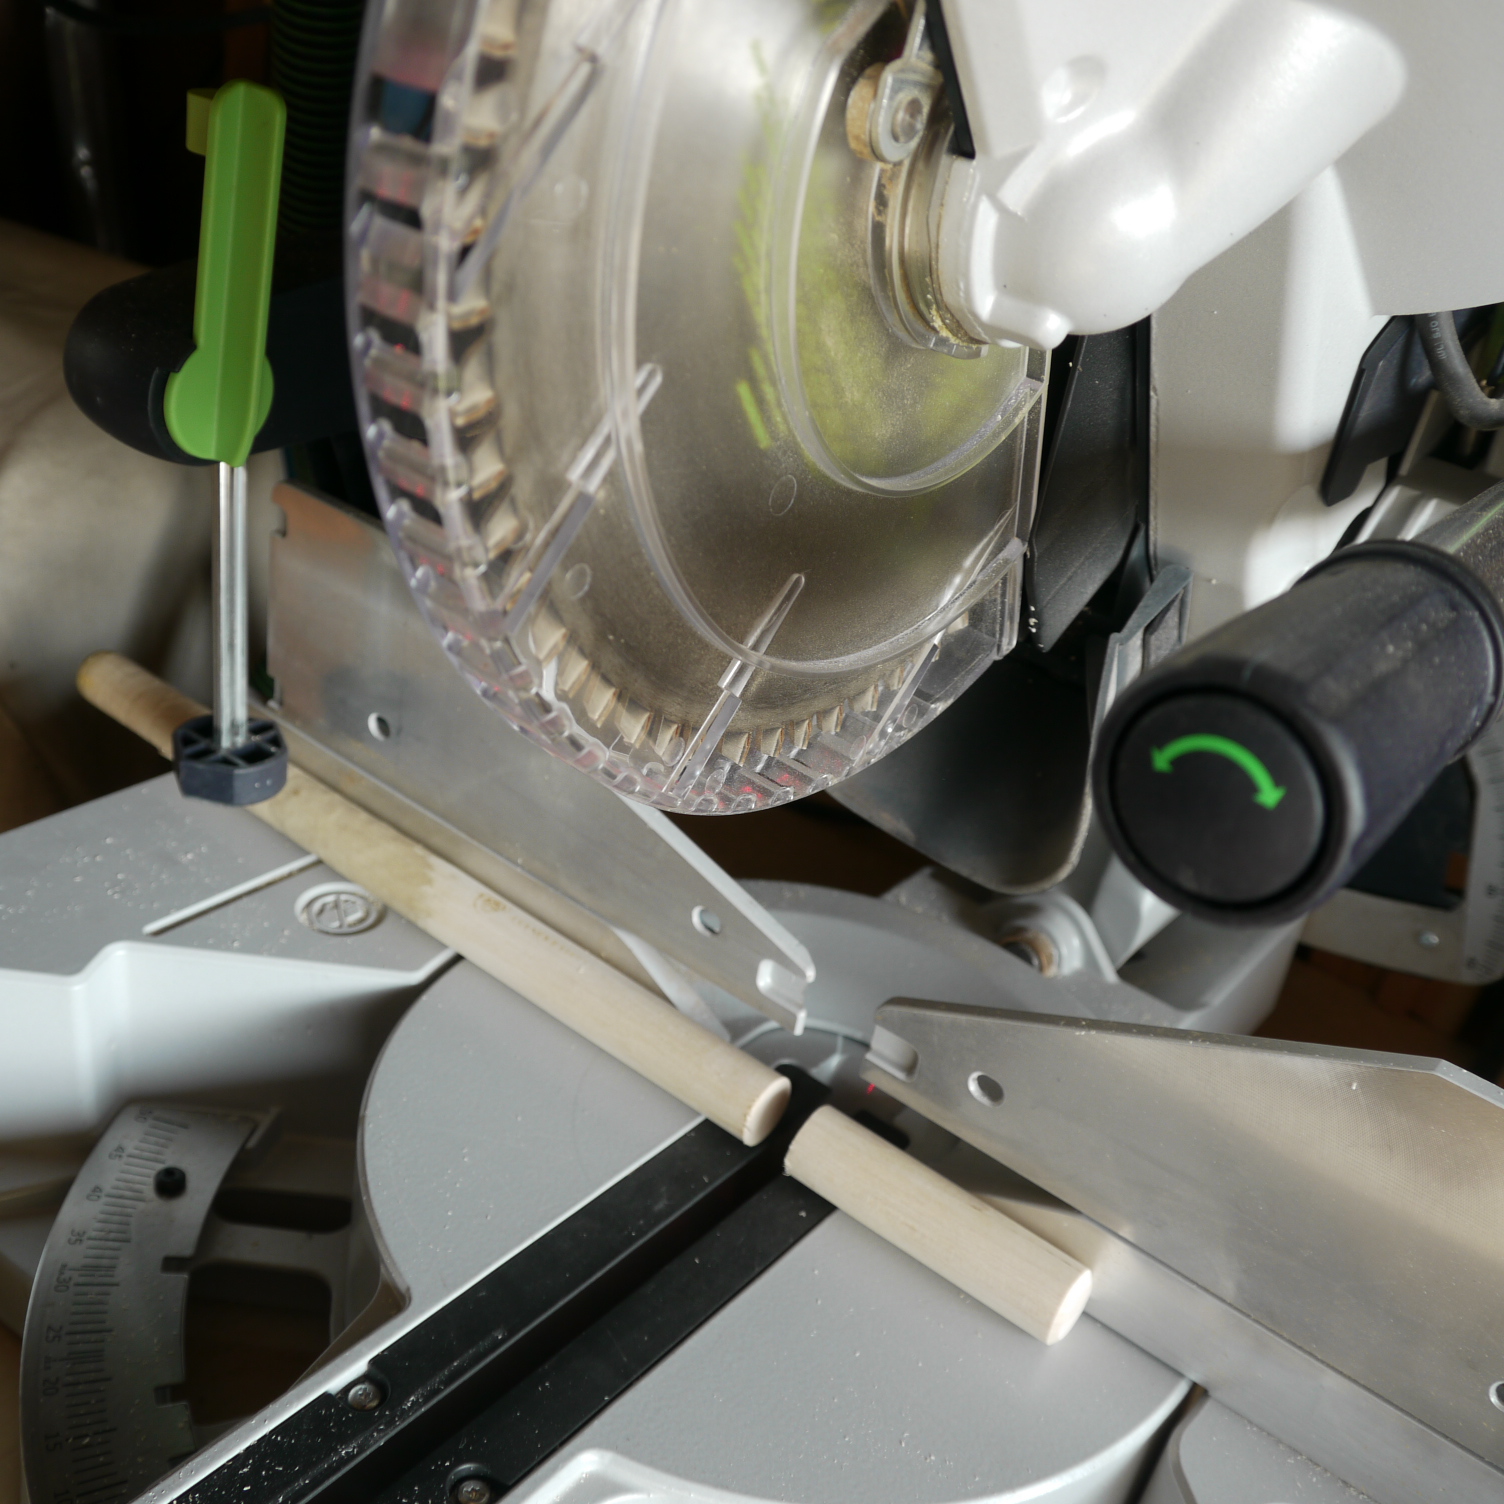
The next step was to create indentations in the top of the curtain support to catch the curtain rods. I did this at the mill, first using a 1/2" rubber sanding drum. Although I tried to proceed slowly, the rubber drum took a bit of a beating and needed support from extra washers at each end. The finished cut was also quite a bit larger diameter than 1/2"... absolutely fine for this project but not quite as tight a fit as I want for the 7/16" rods.
A high-speed-steel end mill seemed like a better option but crushed the wood fibers a bit. Increasing cutter speed seemed to help.
I left the curtain supports unfinished.
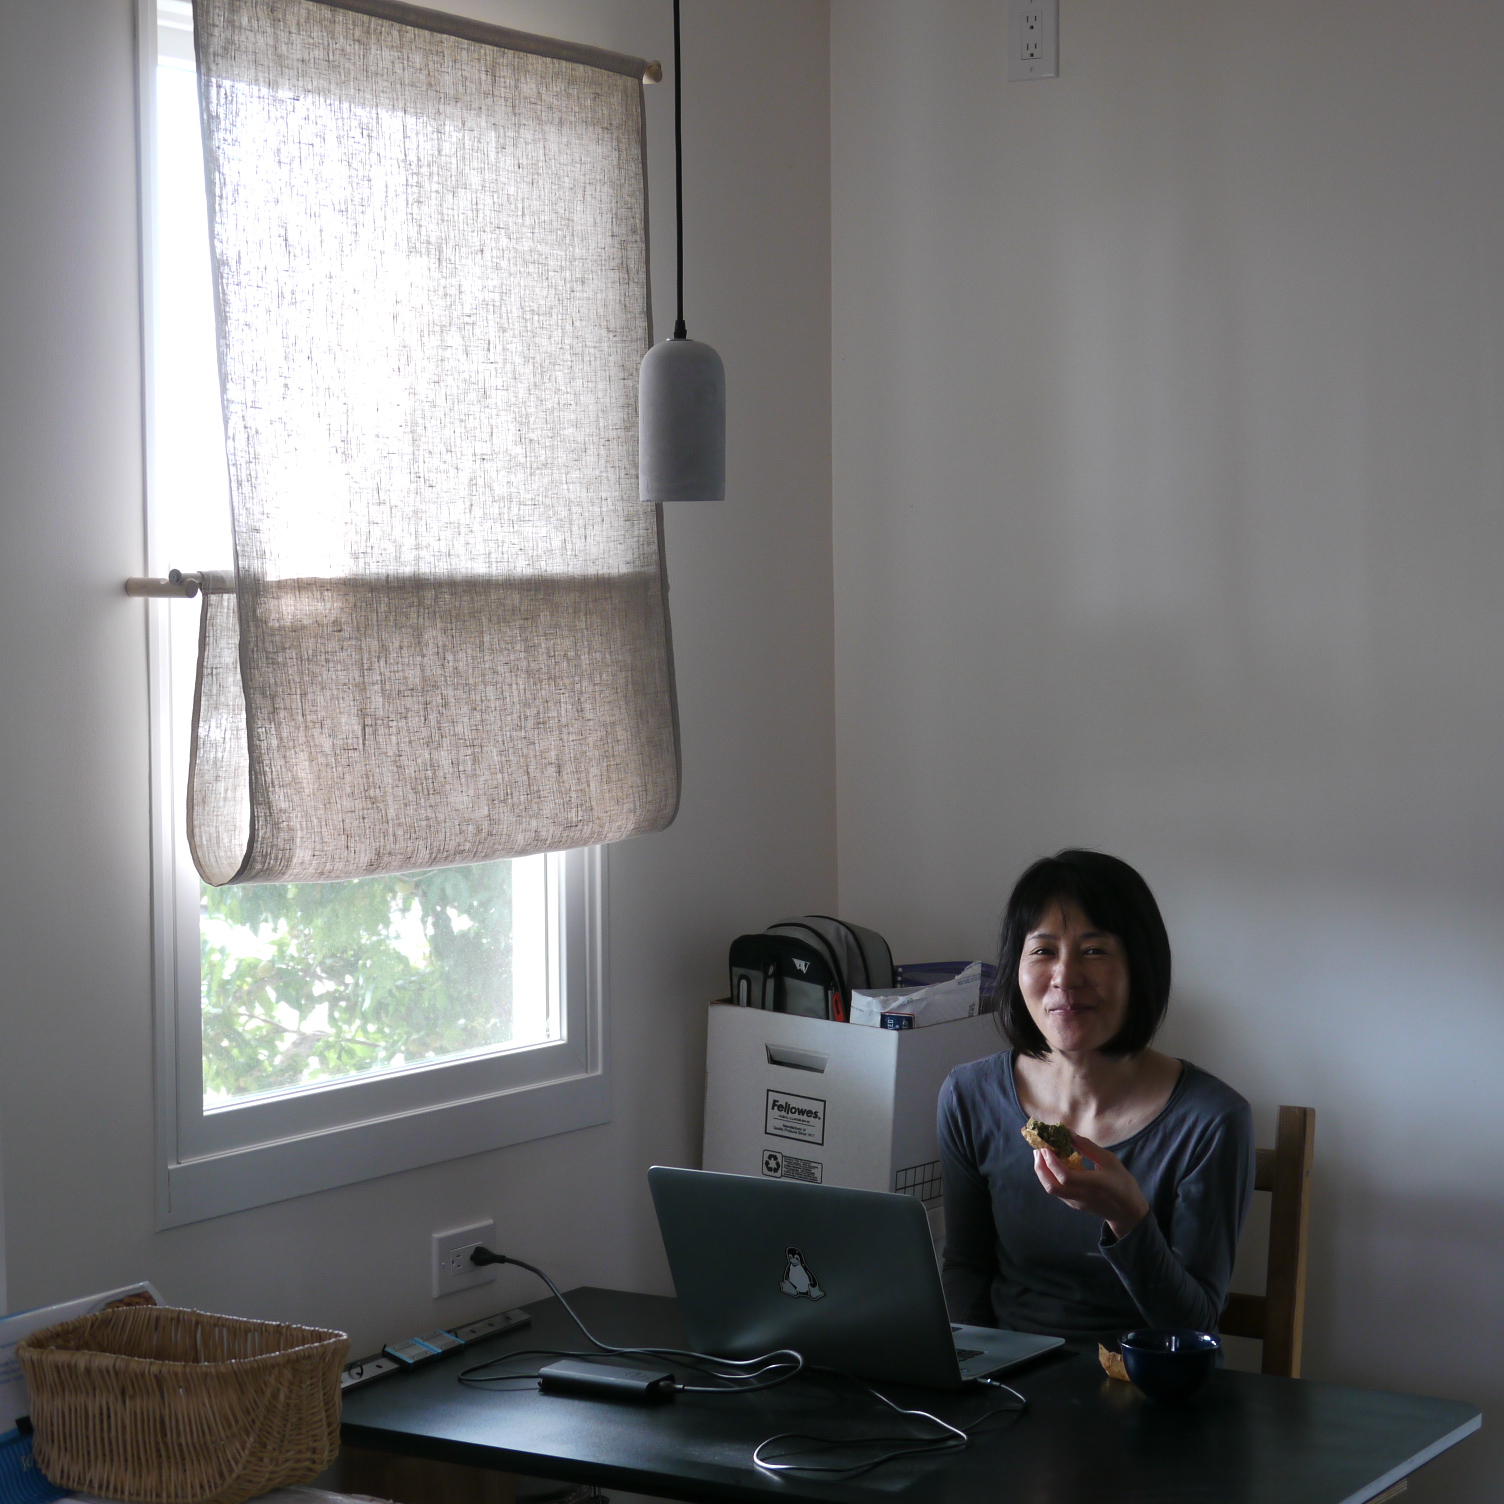
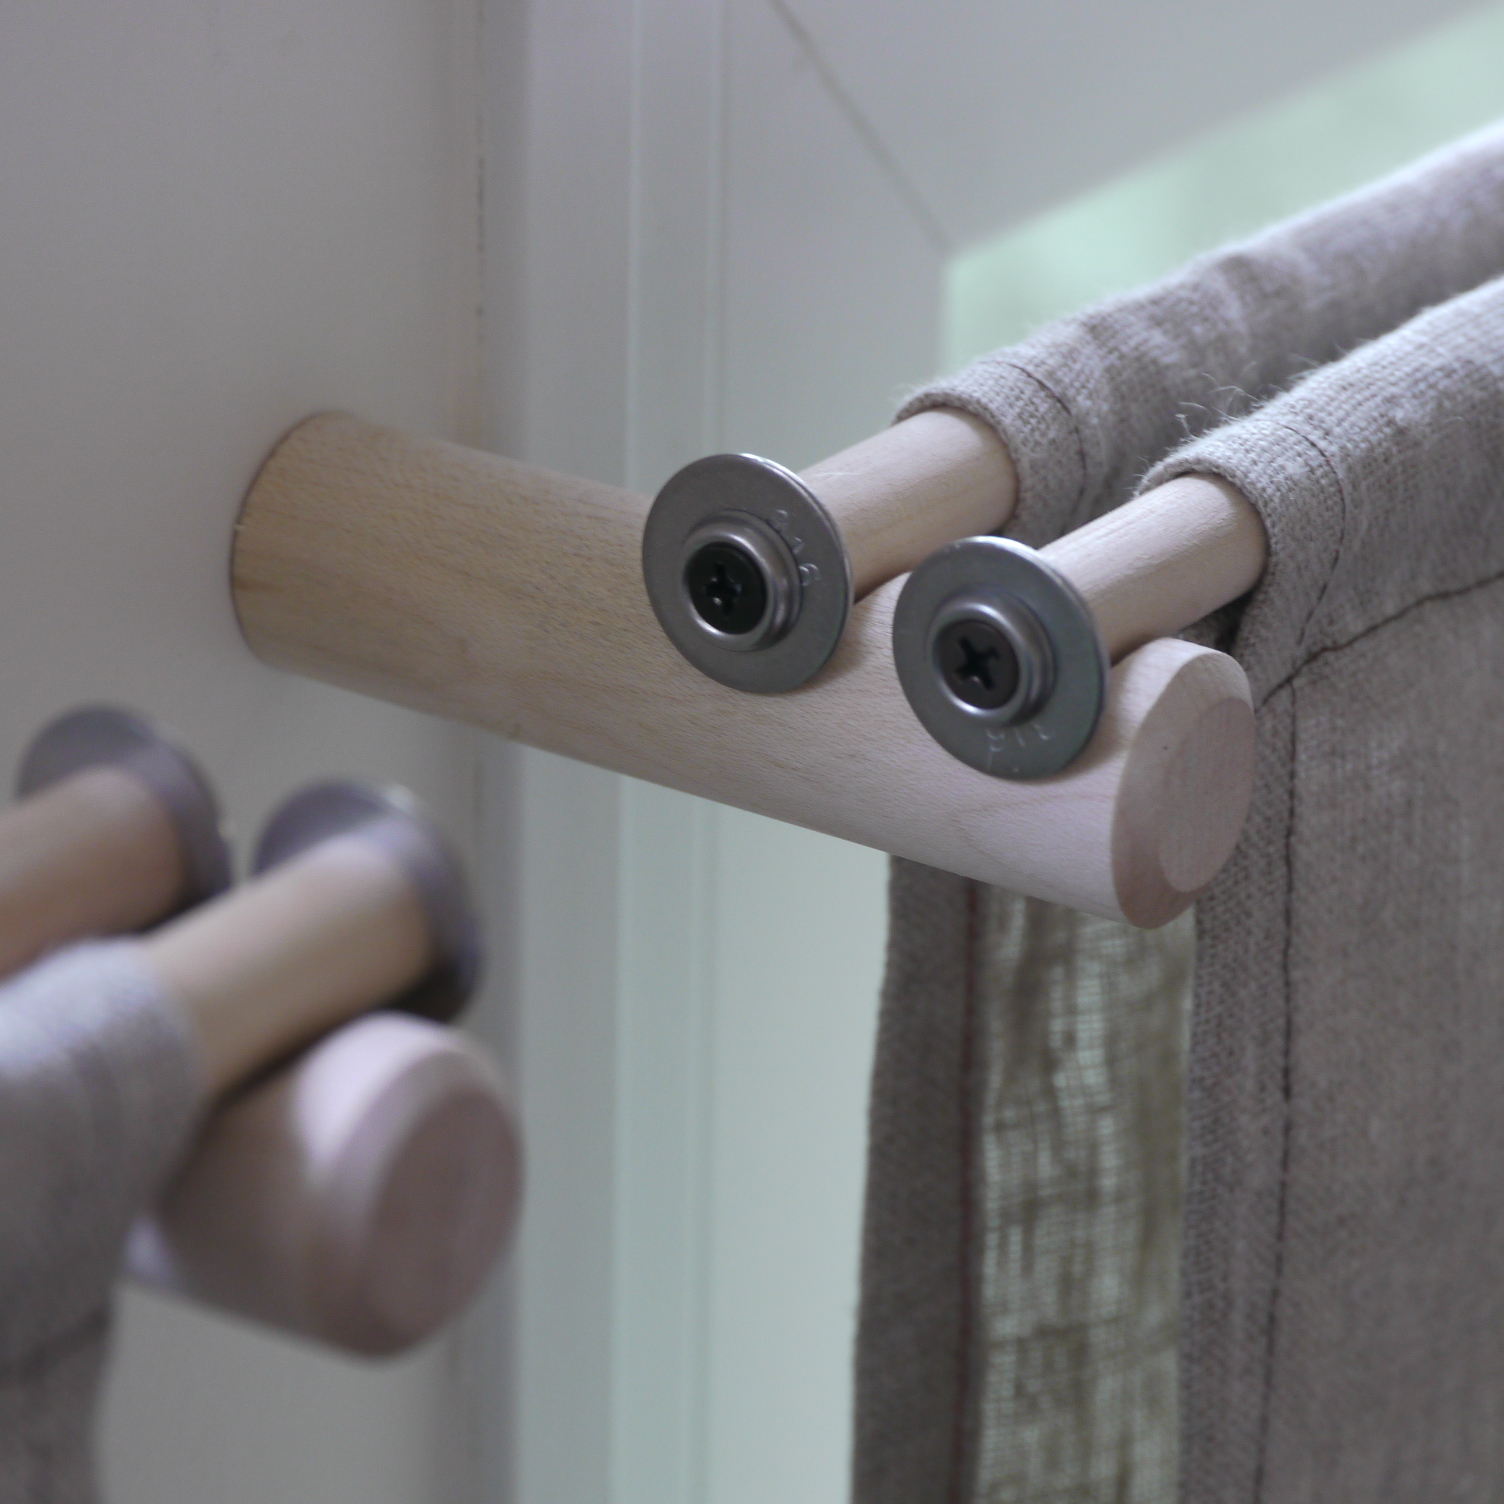
The curtain rods are simple enough... 7/16" birch dowels with holes bored in the ends to accept a screw to affix washers as end-stops. (I was disappointed with how curved some of these rods are but it turns out the bend can be a benefit. Rotating a rod so that the bend is "up" resists sag and makes the finished curtain look straight.) Marking the curtain rods in situ and then cutting, allowed for satisfyingly little play in the finished product... until I realized that the distance between the top supports and bottom supports is slightly different. Make sure to mark a particular window's curtain rods against both sets of its supports, and use the wider of the two.
Installation
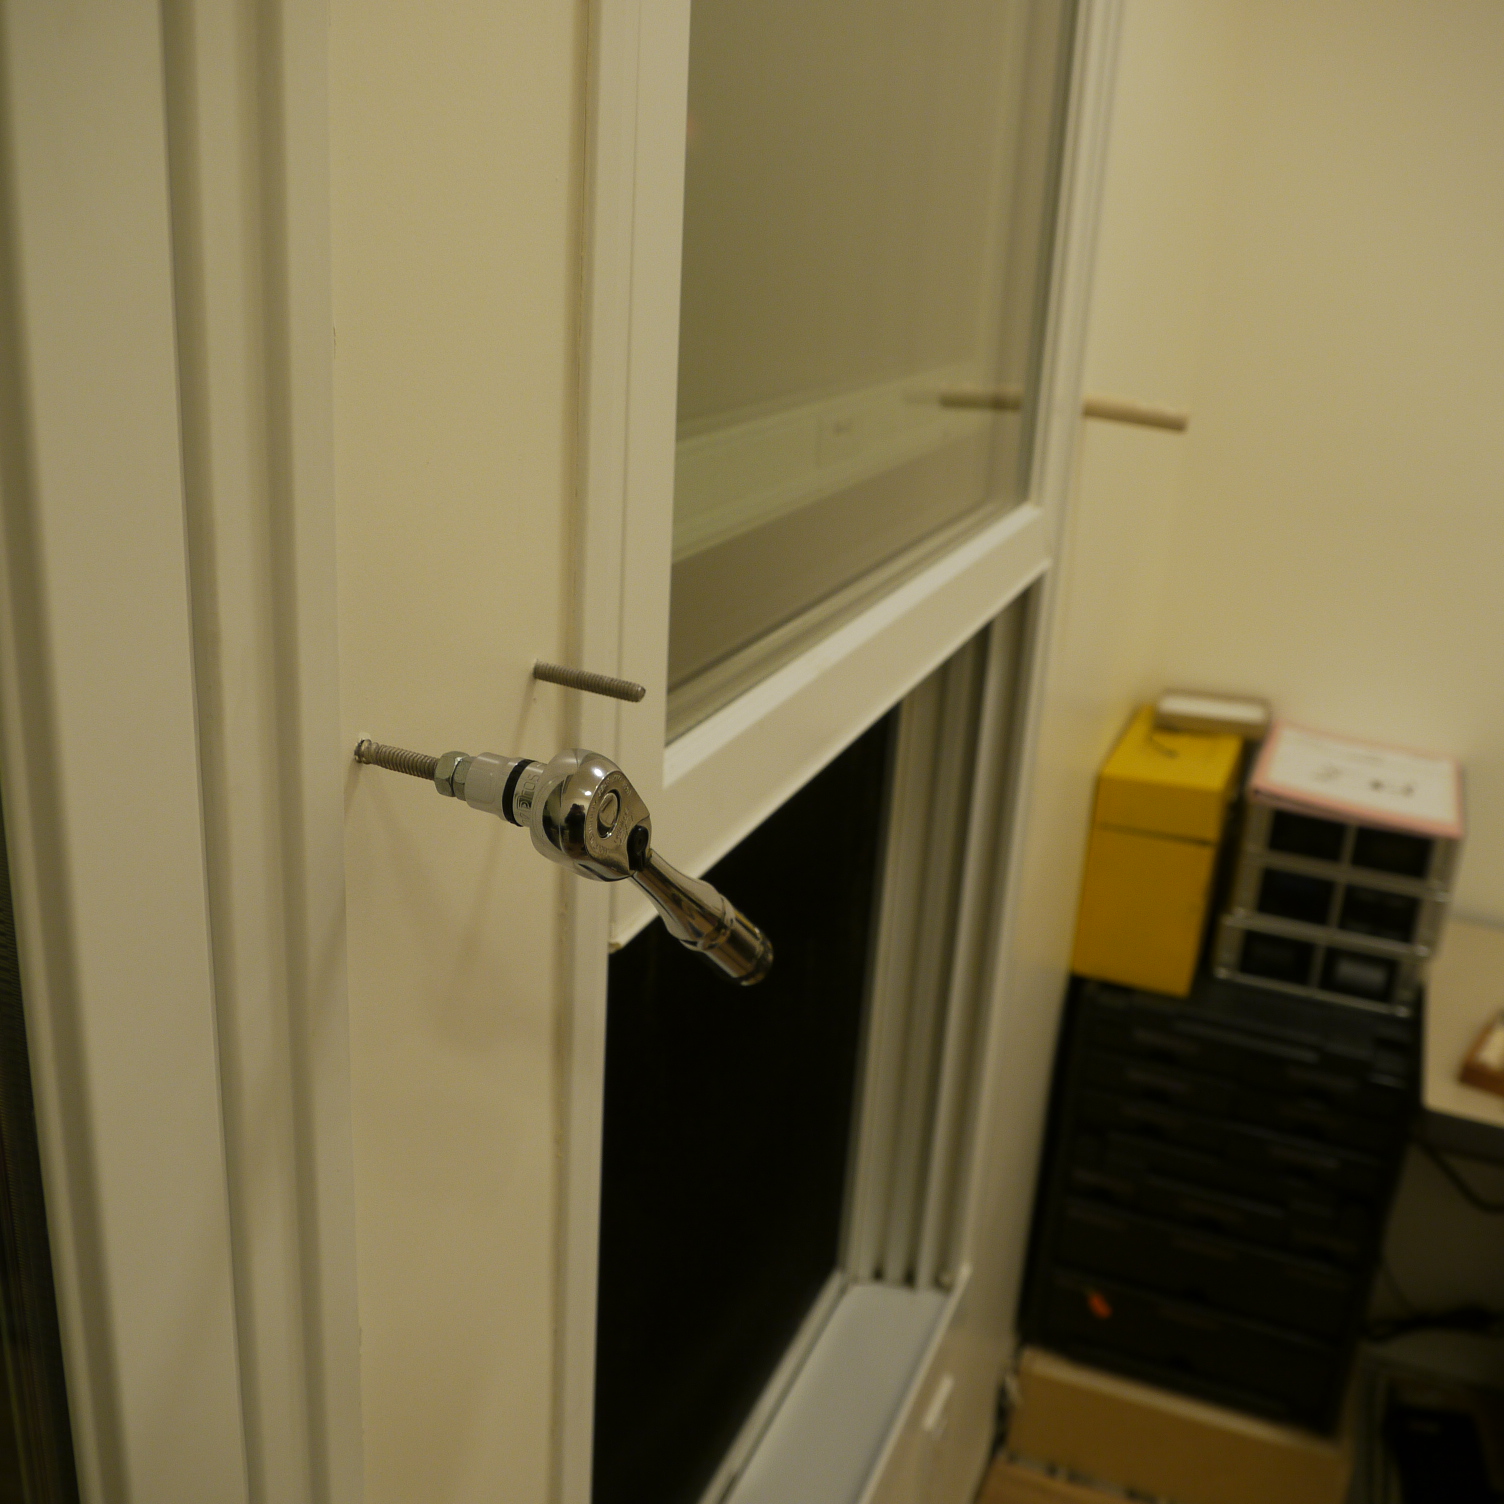
Bolts extending from the wall just to the side of each window allow installation of the supports with hot glue. These bolts are the visible part of double-sided 3-1/2" wood screw / bolts.
Screwing perfectly perpendicular into a wall is surprisingly difficult. By far our best results came from having Hiro stand to the side and give advice on the pitch of the bit, while I worried about the left-to-right angle from directly behind the drill.
The bolt positions are based on the window itself, set away from the frame by about 3/4". Using two crammed nuts on the bolt side allows for screwing into the framing surrounding the window. The play in the oversized hole in the support will allow for some wiggle room, but even that wasn't enough for me to do it perfectly on all six windows. Discovering the two-person drill alignment trick helped.
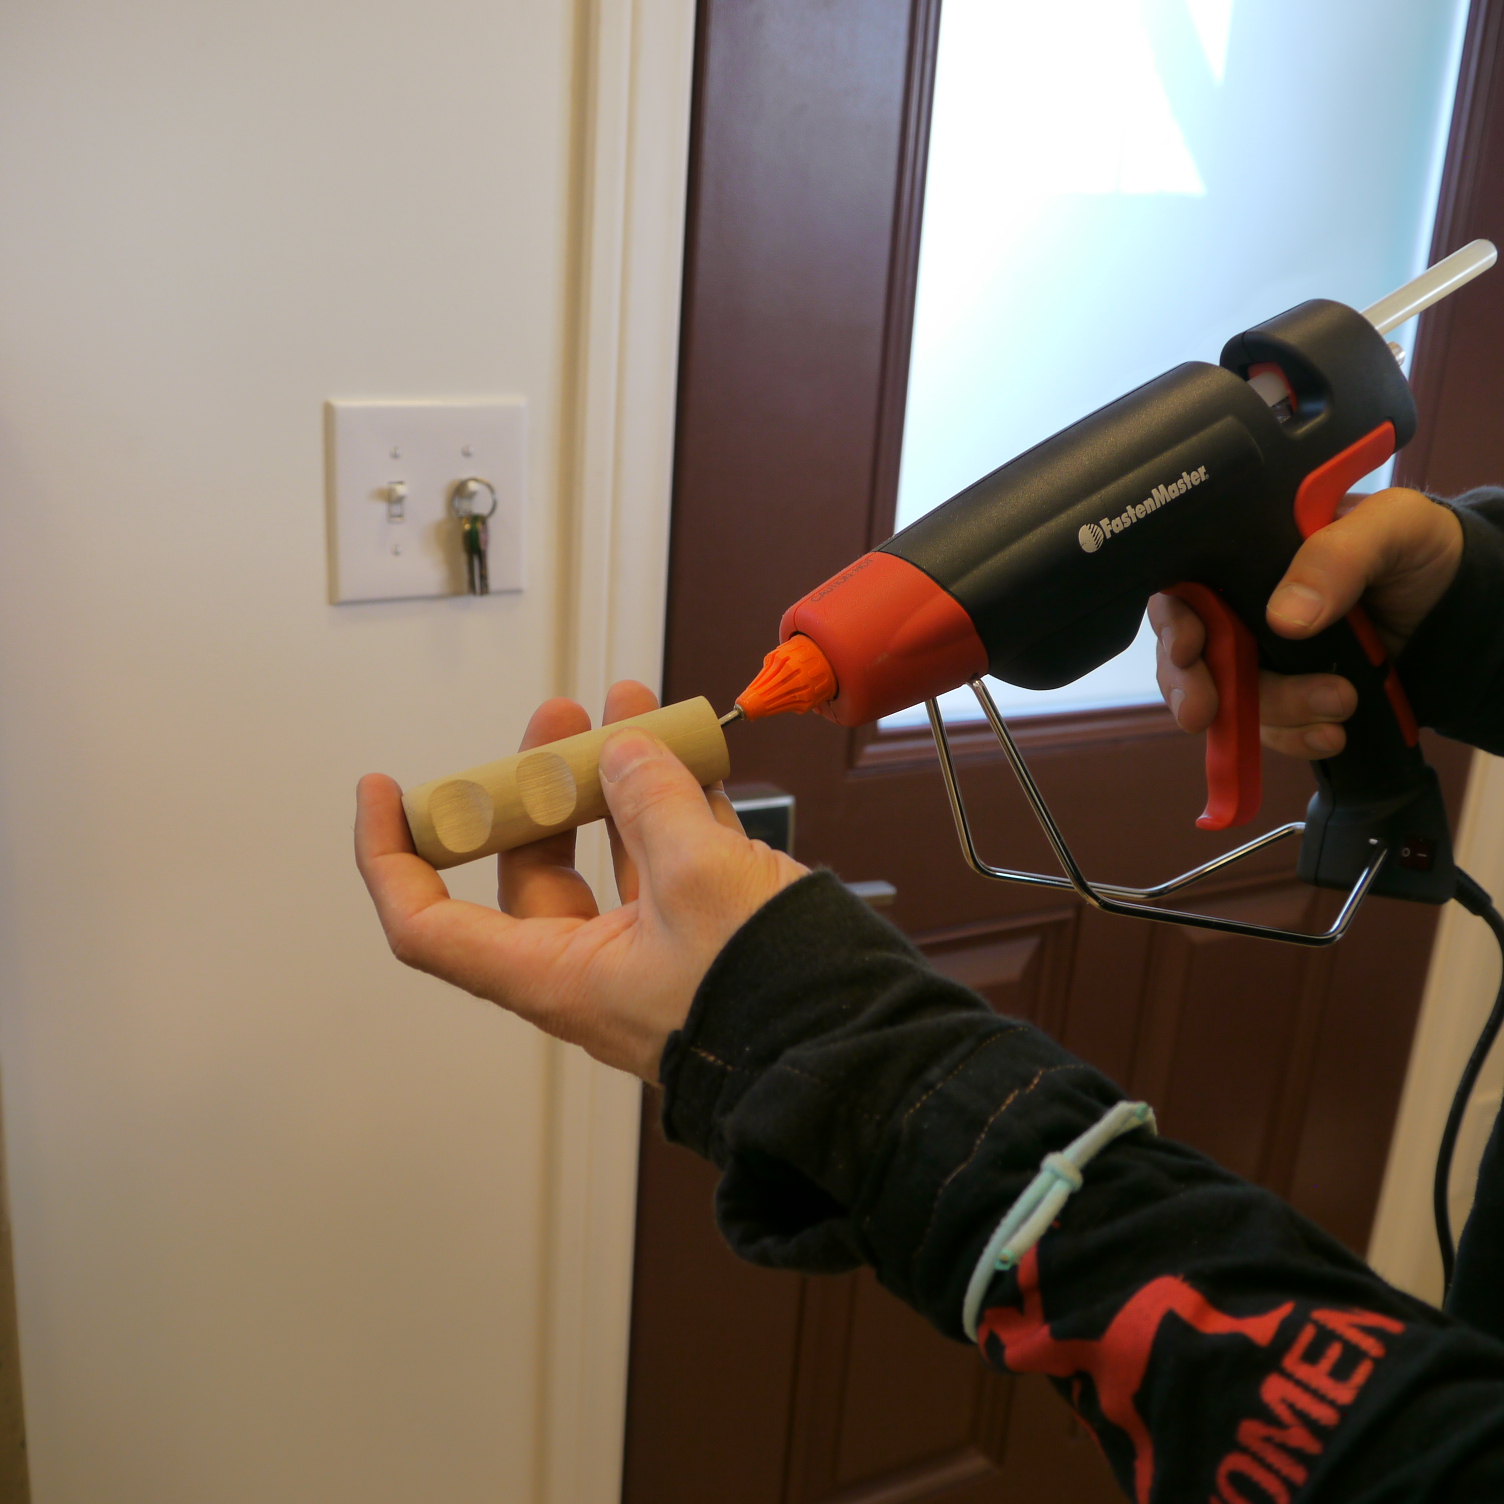
A needle nozzle for the hot glue gun made it easier to get the glue to the bottom of the hole, and to avoid squeeze-out during installation, I tried to stop adding glue as soon as I could see the hot-glue in the hole (approx 3/4" from the opening).
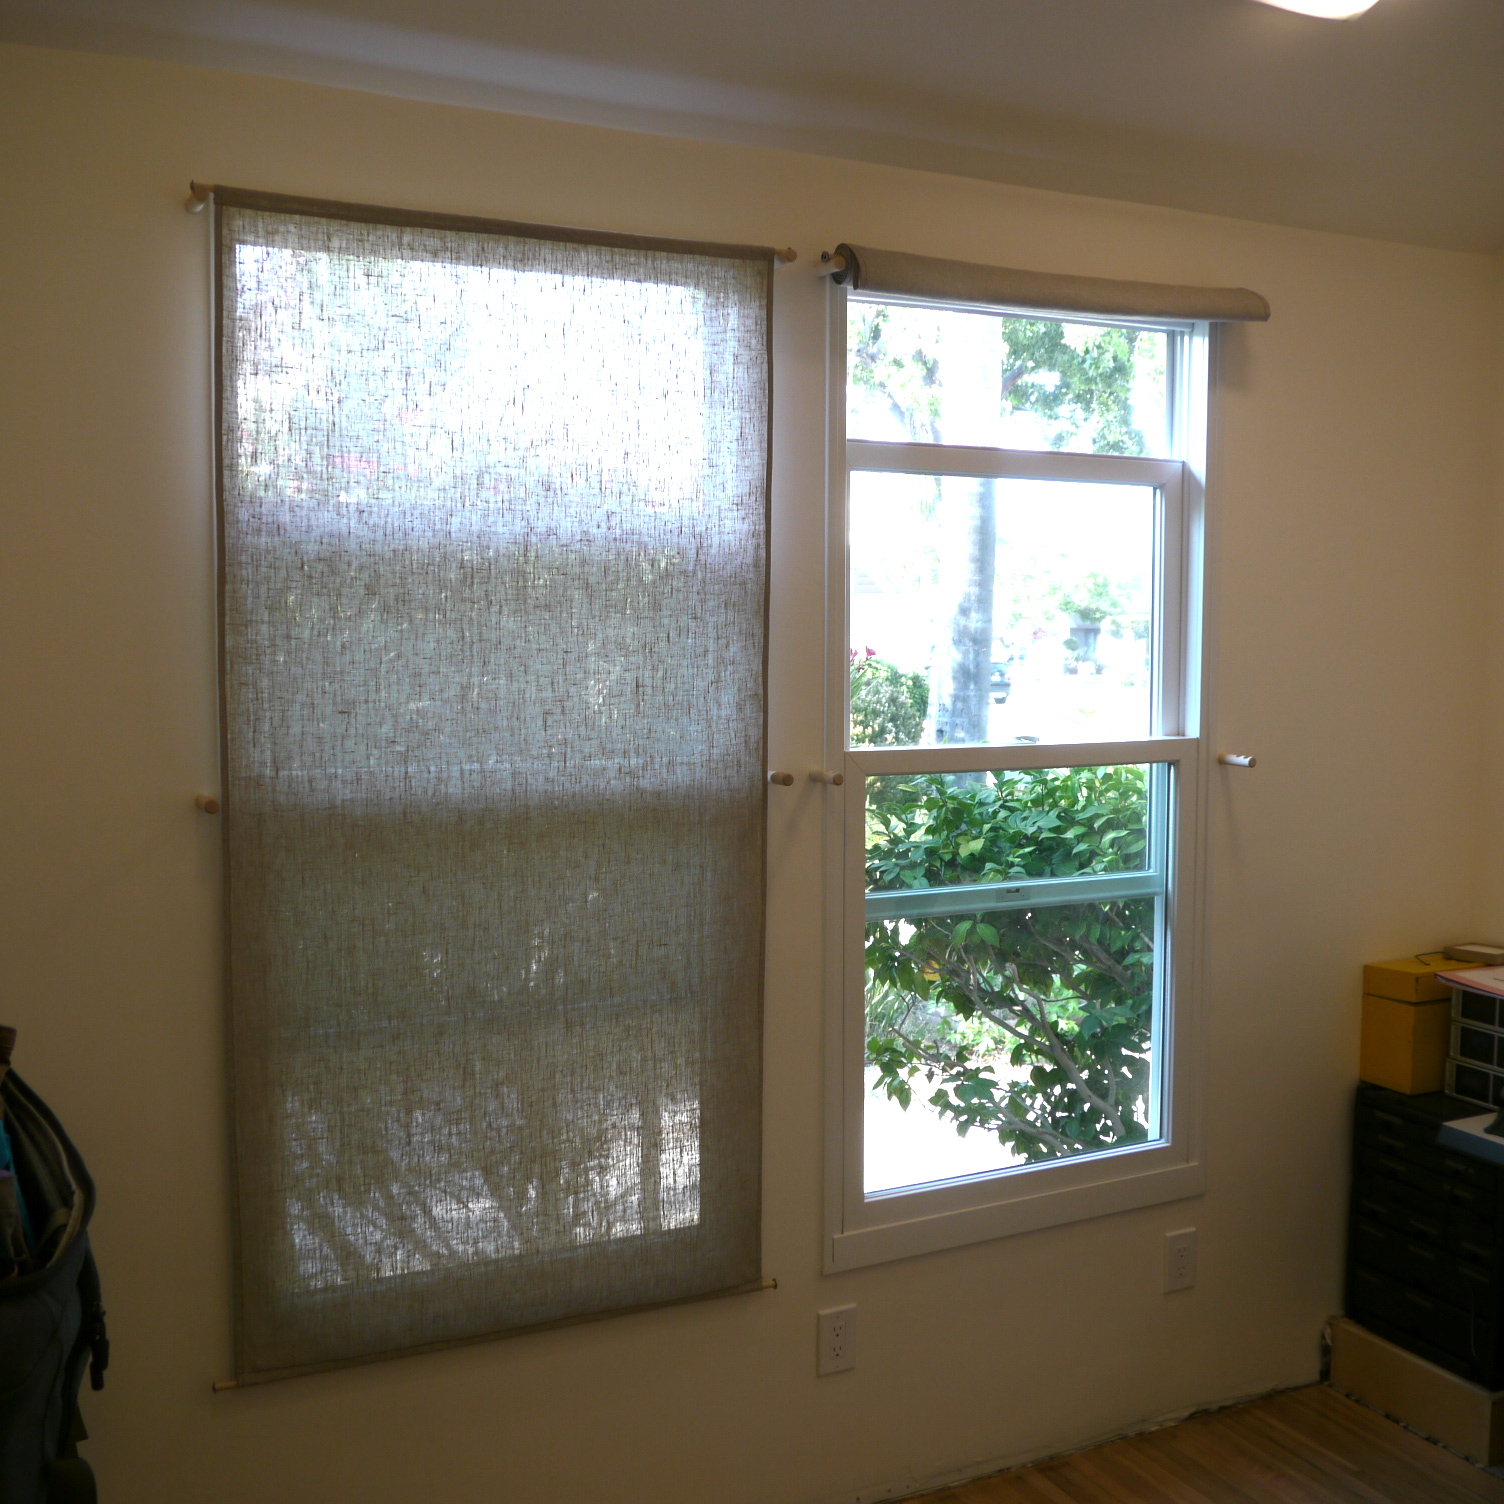
Completed living room curtains